Weekend Breakfast: Chilaquiles

Hello everyone!

Once in a while on the weekend, we feel like having a fancier breakfast. My kids don’t generally like eggs so I always end up making pancakes for them and eggs for us. This recipe is great because it’s not very egg-y tasting, so that even Diya (who has never ever eaten an omelette) will eat this.

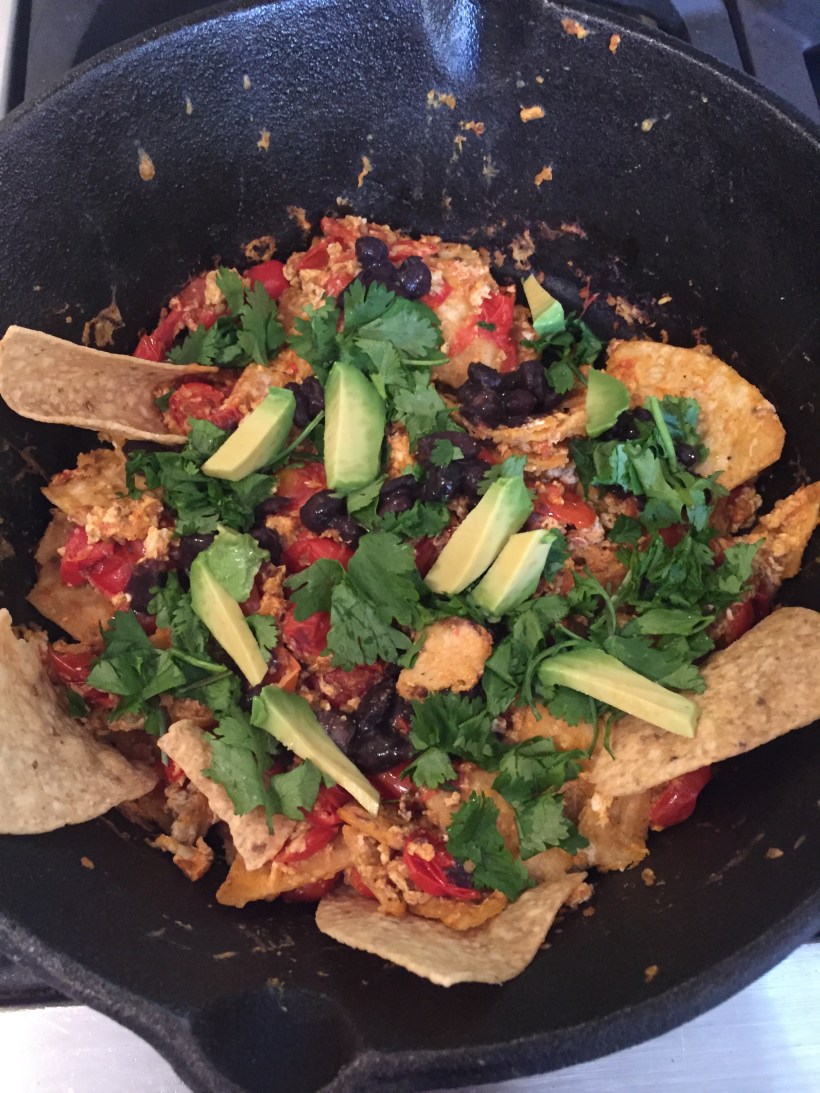
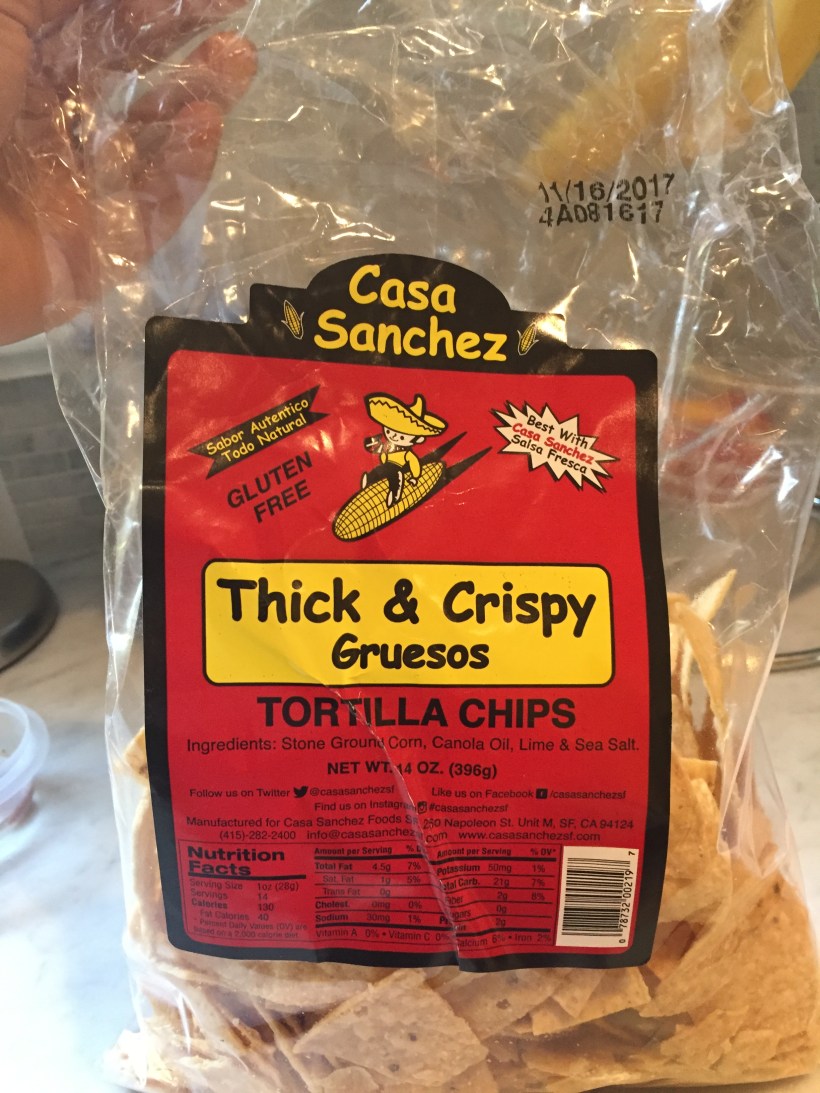
It comes together relatively quickly for something that looks like much more work. This is my version of it that I came up with while experimenting one morning. We use the Casa Sanchez thick chips to give a bit more bite. You can use any toppings that you like, but our favorites are cilantro, avocado, and a sprinkling of cheese.

Chilaquiles

(this serves 2 people as a main or 4-5 people as a side)

IMG_1995

Ingredients:

one pint cherry tomatoes

1/2 bag (or more) of tortilla chips

salt/pepper to taste

olive oil

taco seasoning (or cumin and paprika)

4 eggs

toppings: queso fresco (I used feta), cilantro chopped, sour cream, avocado (chopped or sliced), anything else that sounds good!

IMG_1994

Methods:

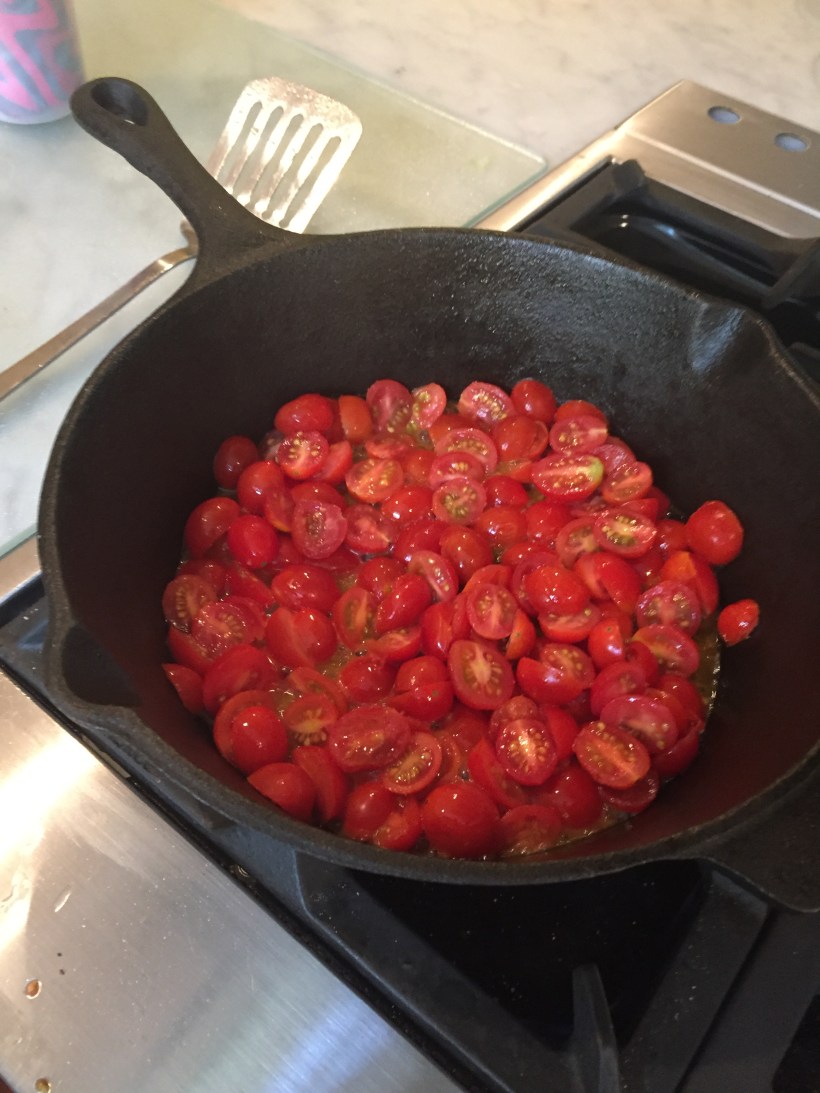
  1. Heat 3 tablespoons of olive oil in a cast iron skillet until shimmering. Add the cherry tomatoes (sliced in half lengthwise)
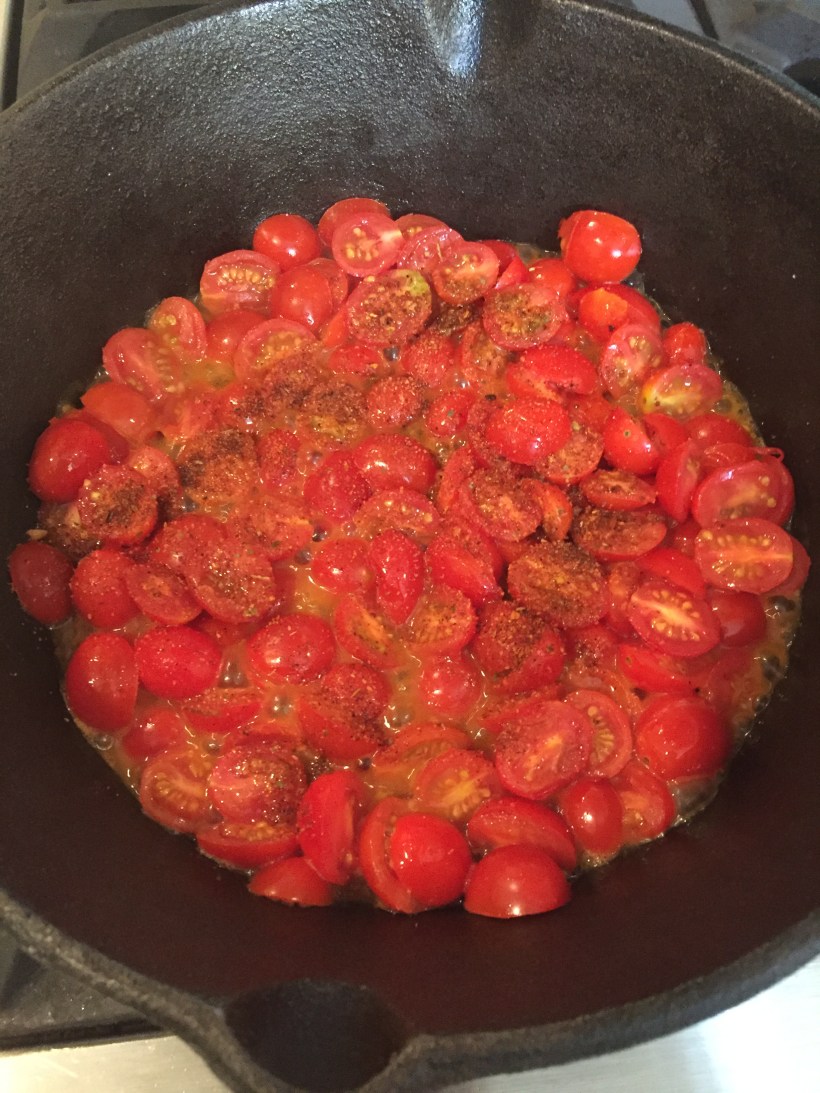
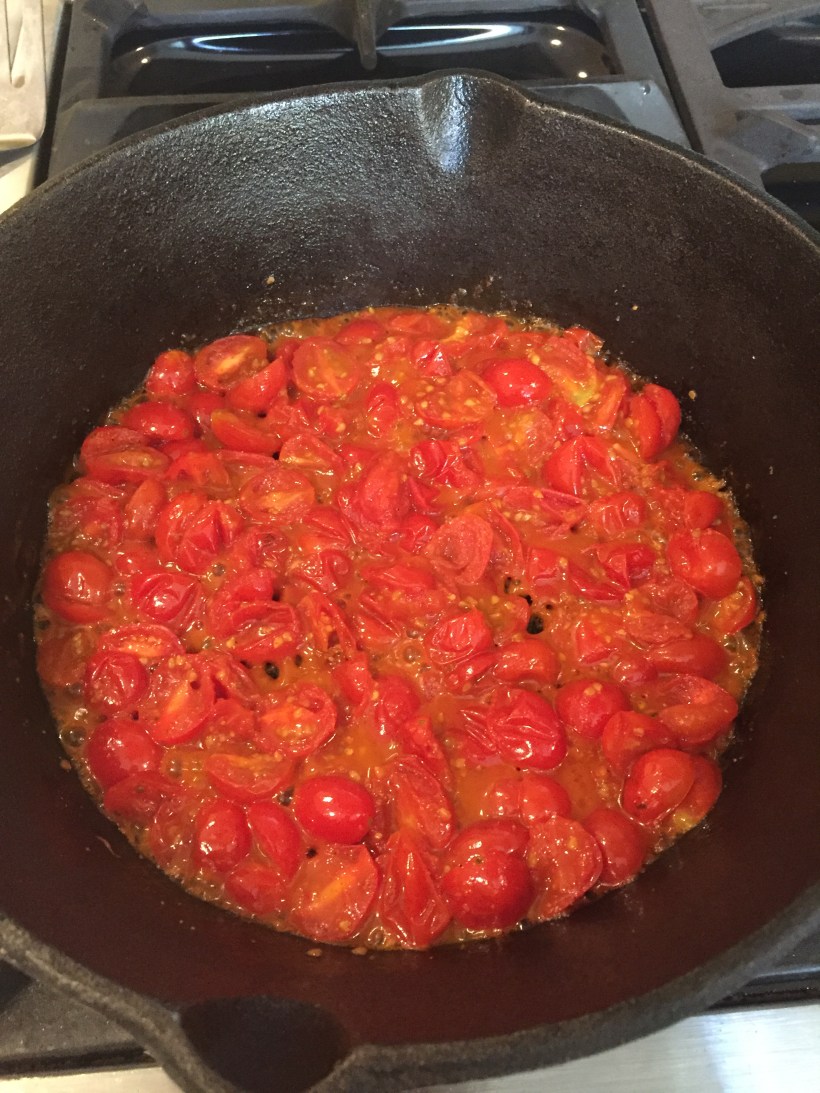
  2. Cook, stirring occasionally, until softened. Add taco seasoning and salt/pepper to taste.
  3. Beat the eggs with 1/4-1/2 tsp salt. I used one egg and three egg whites (I am not a huge fan of the taste of the yolk).
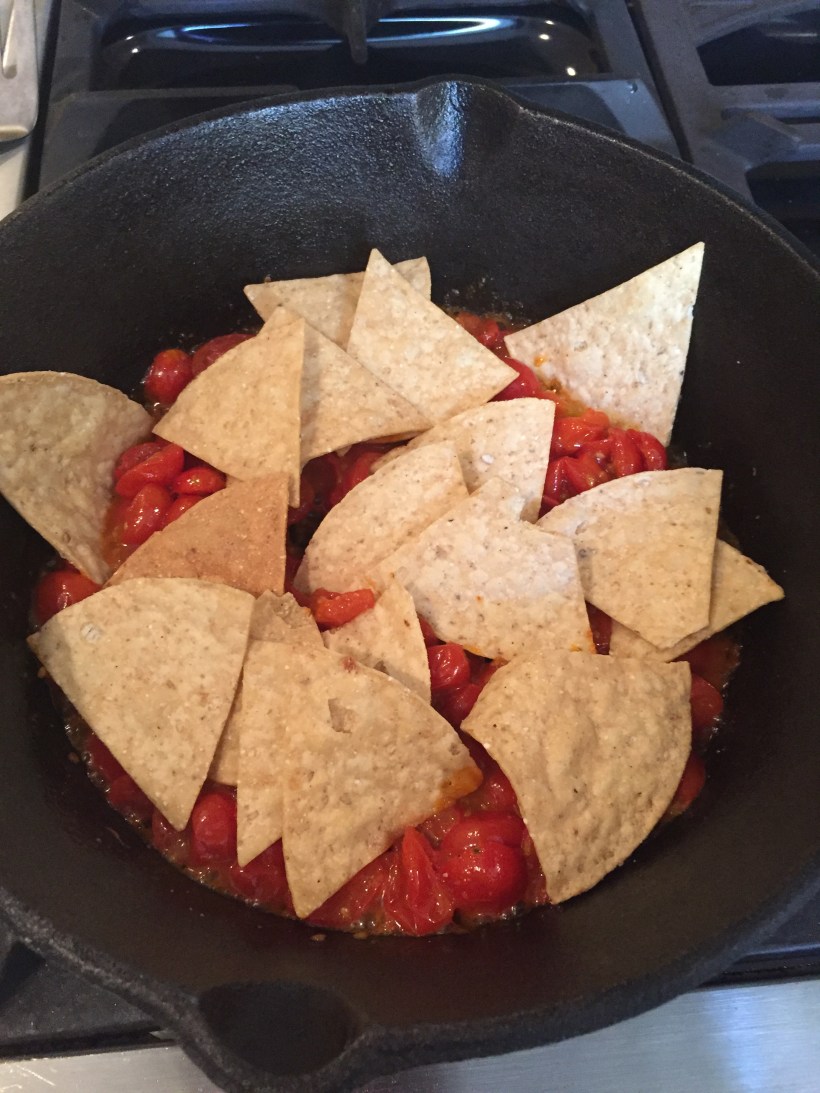
  4. Place a large handful or two of the tortilla chips into the tomato mixture, digging them into the mixture a bit.
  5. Pour the eggs over the chip/tomato mixture and cook for a minute, then turn the chips over in sections and continue to cook. Continue this process until the eggs are set and coating most of the chips.
  6. Take off the stove and add desired toppings. Serve immediately. Enjoy!


IMG_1988IMG_1989IMG_1990IMG_1992IMG_1991IMG_1993


Love,

Pooja


Quick Biscuits

Good morning everyone!

I made a caprese salad yesterday (love those summer tomatoes!) and Diya said, “I wish we had some bread to go with this!” So, of course, I told her that she should make some. She decided that she wanted to make something quick and easy, and settled on making biscuits.

These were easy, quick and super-delicious! They were especially good straight out of the oven with some melted butter. Yum! Diya adapted a recipe from Smitten Kitchen that originally included blue cheese and scallions (which she omitted because she decided she wanted plain and simple biscuits).

Quick Biscuits

Ingredients: 

2 1/4 cups all-purpose flour
2 1/2 teaspoons baking powder
2 teaspoons sugar
3/4 teaspoon baking soda
1 teaspoon salt
6 tablespoons (3/4 stick or 3 ounces) cold unsalted butter, cut into 1/2-inch cubes
1 cup well-shaken buttermilk

Some tips/tricks:

Buttermilk: make your own with 1 tablespoon white vinegar and 1 cup milk, let sit until curdled – about 10 min

Butter: I like to do this best by freezing the butter and then grating it into the dry ingredients – helps keep the flakiness and makes it easier to incorporate. When the butter is distributed throughout all of the flour – that gives the best flakiness

Do not overmix this dough – otherwise your biscuits will be tough and not light and fluffy

Methods: 

  1. Pre-heat the oven to 450 degrees
  2. Mix the dry ingredients (flour, baking powder, sugar, baking soda, salt)
  3. Add in the butter and use your hands or a pastry blender to incorporate well into the flour until it looks like sand that clumps together when squeezed.
  4. Add in the buttermilk and mix with a spoon until just combined.
  5. Place on a buttered baking sheet, leaving two inches between the biscuits. Ours were too big initially so had to be broken in half to cook through.
  6. Bake until golden – 16 to 20 minutes.
  7. Eat warm with butter!

IMG_1898-1


Vegetable Satay Noodles

Good evening! Hope that you all are having a wonderful start to your summer! We had a jam-packed day today that ended with the girls passing their Karate tests and becoming yellow belts while the baby cheered them on. It felt like a good and big first step in their martial arts journey.

I just turned 40 which feels surreal – I think mostly because it feels like my 20s didn’t really happen since I was in school and residency for most of them. Still as everyone tells me – 40 is the new 30! I am trying to figure out how to celebrate for myself and I think that the answer is going to be a haircut – something different maybe – but we will see. There has already been a lot of change in my life over the last year and I am not sure that I am ready for another big one – even if it is as simple as a haircut!

These satay noodles were a recent weeknight dinner – I had a lot of veggies and was trying to think of something to make that would be colorful and still fresh tasting. This really hit the spot – my kids said it was a do-over…

Ingredients: 

For the sauce:

1/2 tsp honey

2 tablespoons tahini

2 tablespoons peanut butter (smooth)

Splash of rice wine vinegar

1 tablespoon coconut oil or olive oil

1/4 tsp ginger powder

1 can coconut milk

salt/pepper to taste

The noodles:

3-4 cups assorted vegetables (I used broccoli, red pepper and carrots)

16 ounces noodles (can use soba, buckwheat, etc. I used edamame noodles)

olive oil

garlic (1 clove, chopped)

chopped cilantro, chopped peanuts, toasted coconut, toasted pumpkin seeds (optional)

Instructions: 

  1. First prepare the noodles. When cooked, rinse with cool water and set aside. Reserve some of the cooking water in case needed to thin the sauce.
  2. In a deep frying pan, cook the garlic on low heat in 1 tablespoon of the oil, taking care not to burn the garlic.
  3. Add the hardest vegetable first (carrot for me) and 1 tsp water. Cover and cook for 3-5 minutes until bright. Continue with the other vegetables, until all are cooked through. I did not cover and cook when I added the pepper and the broccoli. I just added the pepper first, cooked for 2 minutes, then added the broccoli and cooked for an additional 3-5 minutes.
  4. In a medium bowl, whisk together the sauce ingredients, saving the coconut milk for last. The mixture should be smooth. If it is too thick, add some of the past water, a couple of tablespoons at a time, until it is thin enough to toss with the noddles.
  5. In a large bowl, mix together the noodles, sauce and vegetables. Top with the optional toppings – I used cilantro and toasted pumpkin seeds for ours.
  6. Enjoy!


Love,

Pooja


Vegetarian Chili

Dear Readers, this weekend was a big one for me – my oldest daughter turned 11. We are so blessed to have this amazing daughter – she is an incredible big sister and is so self-assured in a way that I definitely was not when I was her age (and still sometimes am not!). She is smart and witty and kind and I thank my lucky stars every day to have her to love. My kids’ birthdays are always a reminder to me about the slow but steady march of time. I love this selfie that she took on her birthday, just as she headed out to school.

IMG_1174


Also, this weekend, my first orchid of the season bloomed! I love when this happens – it really signals the beginning of spring for me and is such a surprise, because I never know if   they will bloom again once the blossoms fall.

IMG_1197

Today continues to be a bit rainy and cold outside – but definitely better that the hail that we had this weekend! Because today seems like a good day for something warm and cozy to eat, I am decided to make chili.

In regards to the meat substitute for this dish, I tend to always use Morningstar Farms Grillers (Original). Because my family grew up vegetarian, I have been eating these for as long as I can remember. These particular veggie burgers are my favorite because they are “meaty” but don’t taste like meat (unlike Boca burgers which are a little too meat-like for me).

IMG_1192-1


If you don’t want to use a meat substitute, you can definitely throw in an additional can of beans or use tofu instead. If you make this recipe, please share pictures in the comments.

Thank you all for stopping by – have a peaceful rest of the week.

Vegetarian Chili

FullSizeRender-1

Ingredients: 

One package Morningstar Farms Griller’s original burgers (thawed at room temp or warmed through in the microwave)

One can of black beans, rinsed and drained

1 cup frozen corn

1 cup chopped tomatoes (I used halved cherry tomatoes)

2 Teaspoons taco seasoning

2 Tablespoons olive oil

1 teaspoon salt

1-2 cups water or vegetable broth

Pinch of turmeric for color

Instructions: 

  1. Saute tomatoes in olive oil until softened – about 2-3 minutes
  2. Add in the burgers and mash using potato masher until broken up.
  3. Add in the corn, beans, taco seasoning and stir.
  4. Put in the water or broth and reduce heat to low. Add in salt and turmeric. Simmer over low heat for 30 min, stirring occasionally.
  5. Ladle into bowls and serve hot with tortilla chips for dipping and condiments (cilantro, sour cream, shredded cheddar cheese, chopped onions, jalapeños, etc.)

Notes: 

I do sometimes add in a spoonful of tomato past to add more of a bright red color to the chili – if you are using it, add it at the same time as when you are cooking the tomatoes.

Enjoy!

Love,

Pooja


Starting Somewhere.

Welcome to my new cooking and baking blog. I hope that you find something you like to eat here!

cropped-img_1049.jpg

Happy Friday everyone! This is my first post for this blog that I have been thinking about starting for a long time. My name is Pooja and I am a mother (to three amazing girls), a family doctor and a wife. I enjoy cooking and experimenting with making meals that are healthy, yummy and don’t take too much time or use too many ingredients. Our family is primarily vegetarian and so the dishes here will be meat-free. I also love to bake and have some lovely people in my life who are gluten free so I experiment with that as well.

My blog support team will consist of: my daughter Diya (10) who is the photographer, my daughter Esha (8) who is the sous chef, and my daughter Nisa (1) who is the taste tester.

I have been sitting on the idea of this blog for ages. What finally inspired me to get started was Lindsay (from PinchofYum.com) and her story about her baby Afton. She has been one of my favorite bloggers for a long time and she continues to write, in the face of the loss of her baby son. And she writes in a way that continues to be inspiring and uplifting, a way that celebrates the beauty of that short life. So, I dedicate this first post to Lindsay, Bjork and Afton.

Today, I am writing about this simple, but lovely lunch I had a couple of weeks ago. It took almost no hands-on time and still shone with rich flavors.

Butternut Squash with Dukkah and Greek Yogurt

Ingredients: 

1 butternut squash, halved and the seeds scooped out

Dukkah spice mix (a Middle Eastern spice mix, available in most grocery stores, or make your own: http://www.taste.com.au/recipes/dukkah-2/19f316ec-0fec-4221-aa26-d5f7c676ced3)

Greek Yogurt (Full Fat best, but any ok)

Olive oil

Salt, Pepper

How to: 

  1. Drizzle some olive oil in the bottom of a roasting pan and place butternut squash, cut (flesh) side down. Bake at 375 degrees until slightly cartelized and soft all the way through (about 30 minutes).
  2. Once the squash is done, let cool slightly and then peel off the skin on the outside.
  3. Cut squash, put on plate. Dollop some greek yogurt on the side and sprinkle with dukkah to taste.
  4. Sprinkle with salt, pepper and a drizzle of olive oil.
  5. Enjoy!