You Win Some and You Lose Some

Dear Readers,

I hope that you are all having a lovely day. I had a pretty intense conversation with my middle daughter this weekend. She told me that a girl in her class told her that she (Esha) would be much prettier if she was White. I was a bit taken aback and had to take a minute to process. Before I could ask her how she felt, she followed with: “But, I wasn’t upset about it because I know she is wrong, I am beautiful just the way I am.” Wow, this kid. But, she then said, “but I used to think that she was right, especially when I was only one of two girls with darker skin in my class. But I don’t feel that way now.” We did some more reflecting and realized that with the move to her new school, which is a bit more diverse than her old (also really wonderful) school, she had a pretty big shift in perspective. And that gave her the confidence to feel much more comfortable in her own skin.

I was really proud of her insight and her courage. But, this situation did also show me how this bias can be so insidious. It reminded me that I need to continue to always build up my girls – and not only because they are brown. I believe that as mothers with daughters, we are always combatting someone judging them based on their looks – whether that is skin color, height, the fact that they wear glasses, the clothes that they wear, etc. Adiche, a Nigerian writer, has a beautiful way of thinking about this issue – the Danger of the Single Story. She did a TED talk on this that I think is really wonderful – we watched it as a family some time ago. It is about what happens when complex human beings and situations are reduced to a single narrative. I think that this is a perspective that we need to continue to encourage in our children: they are not “just” brown or girls or short or a million other things, they are full, multi-dimensional human beings. And I hope from this, they will continue to always build on their confidence and self-worth.

Image result for adichie feminist quote

Watch the TED talk here if you are interested: https://www.ted.com/talks/chimamanda_adichie_the_danger_of_a_single_story

So, overall, I think that conversation was a “win” for Esha.

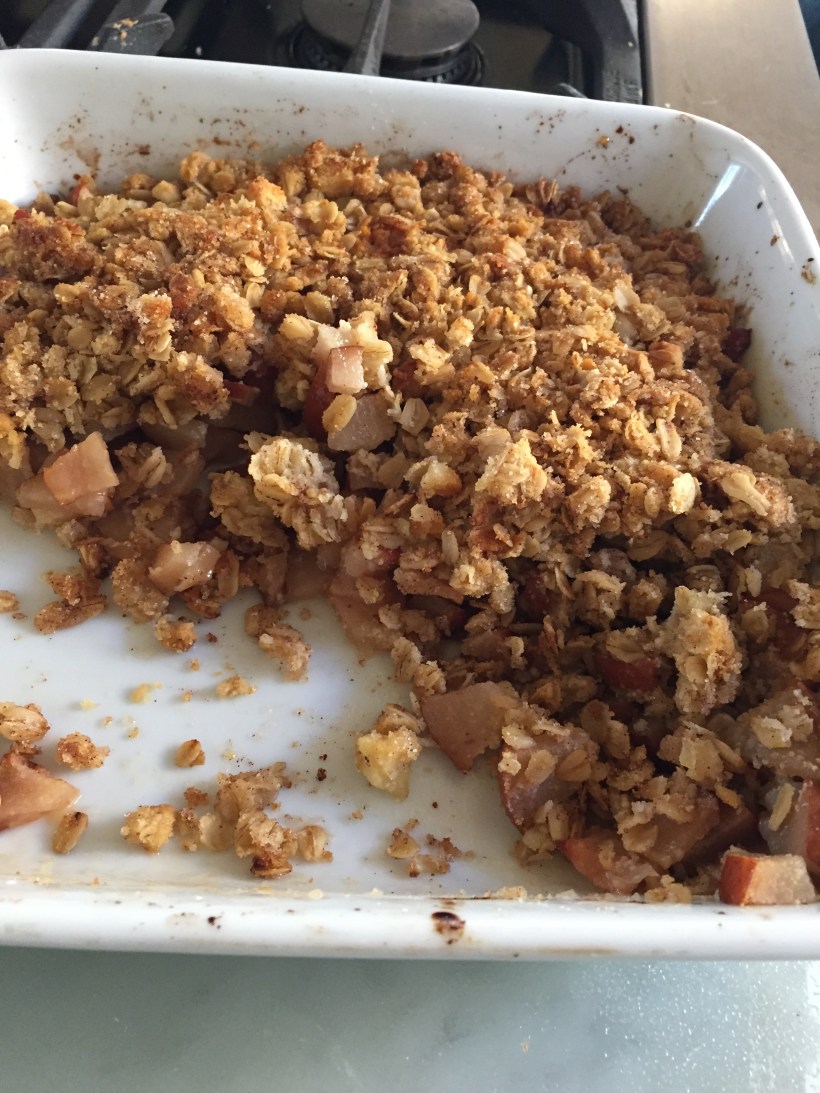
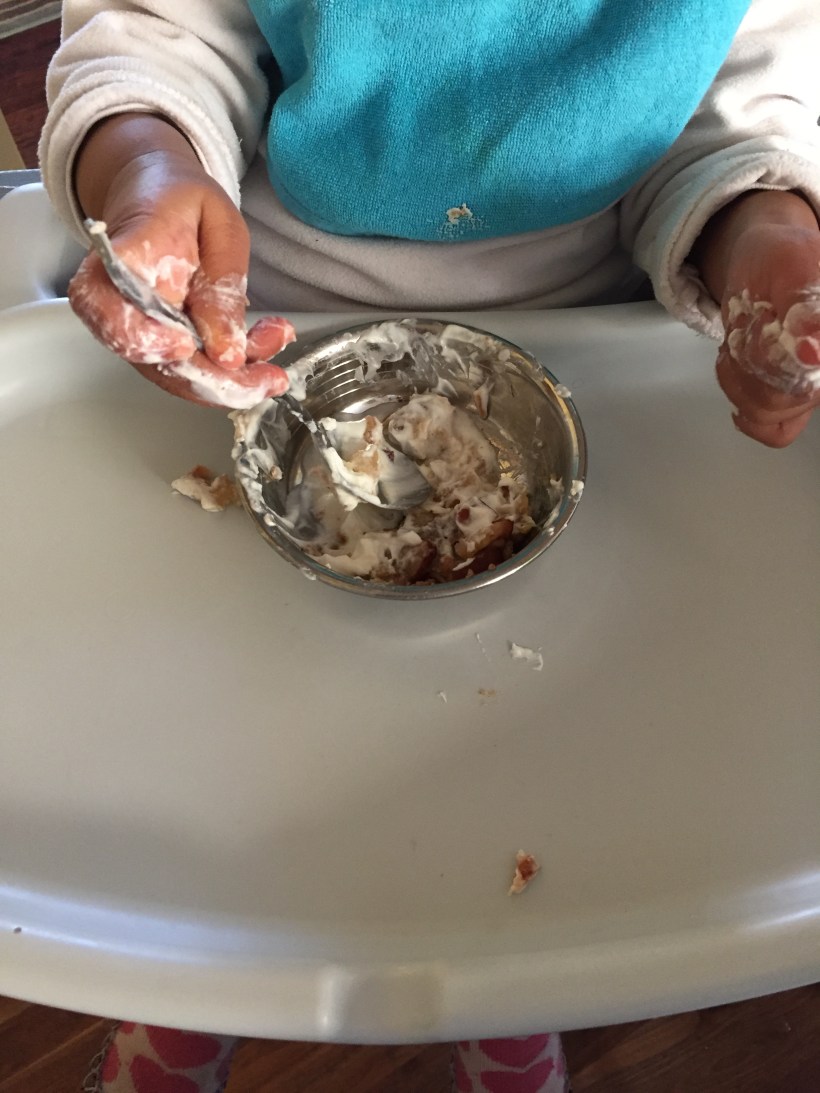
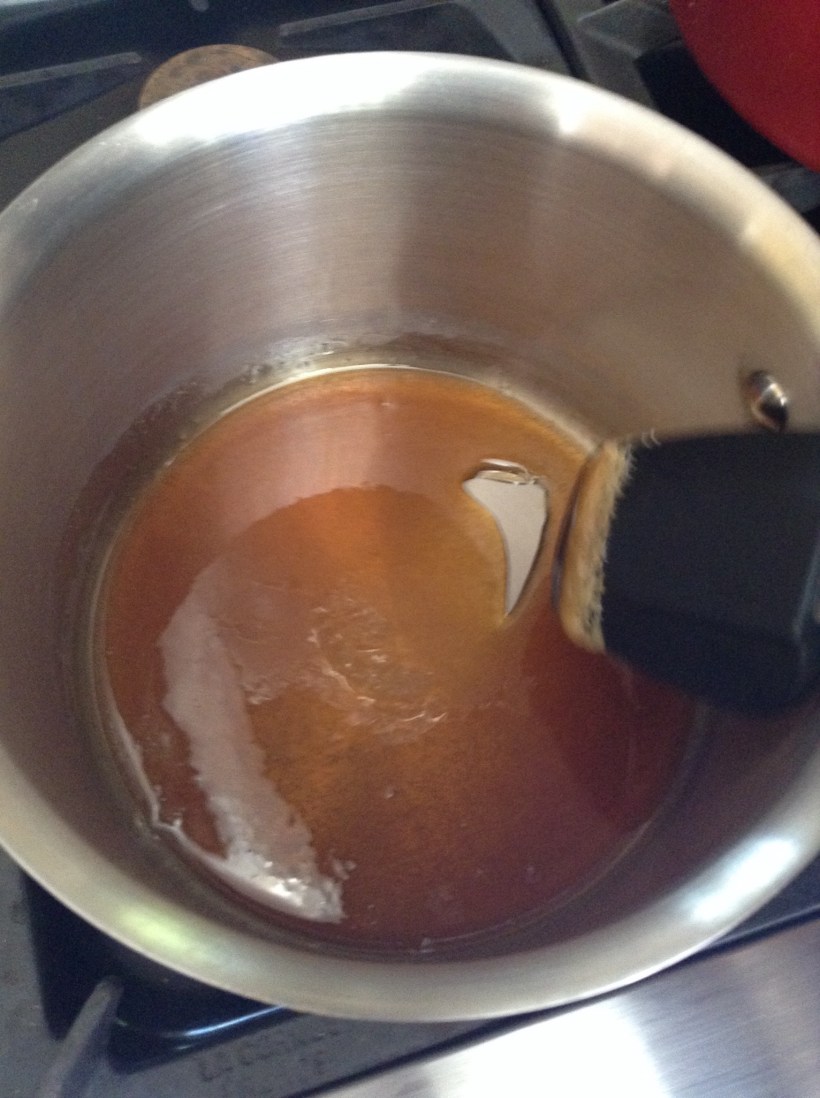
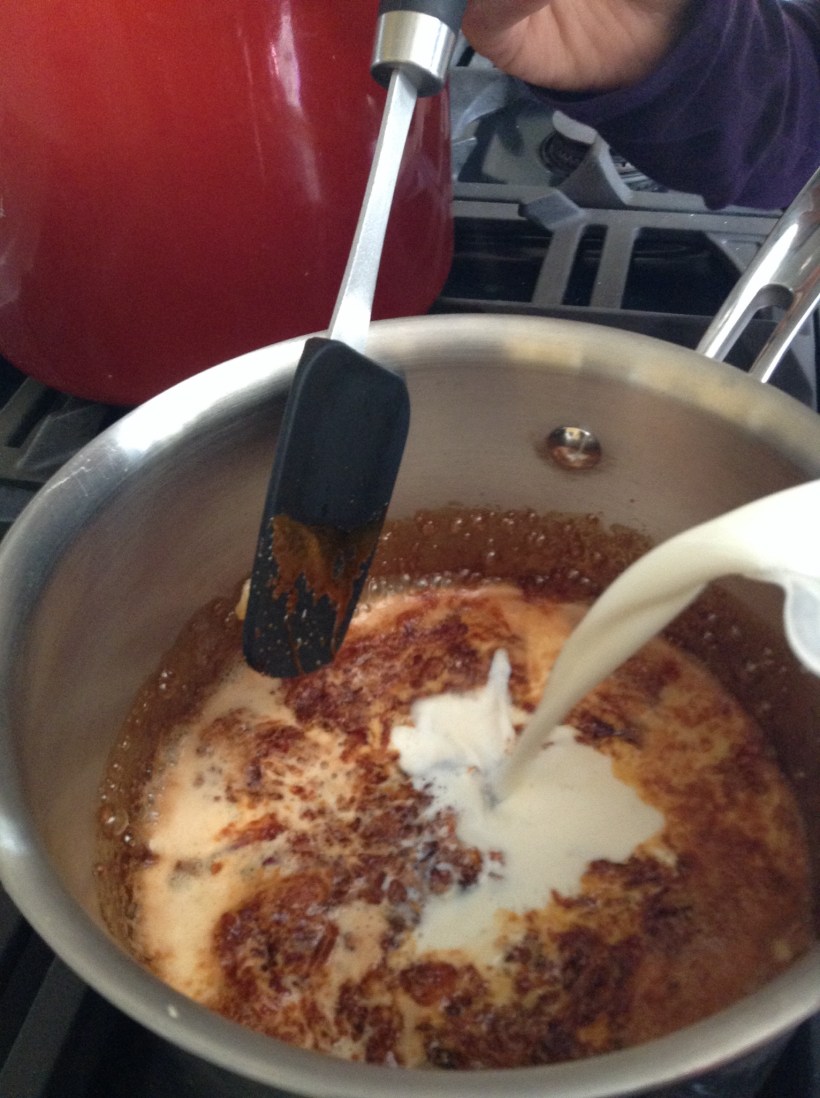
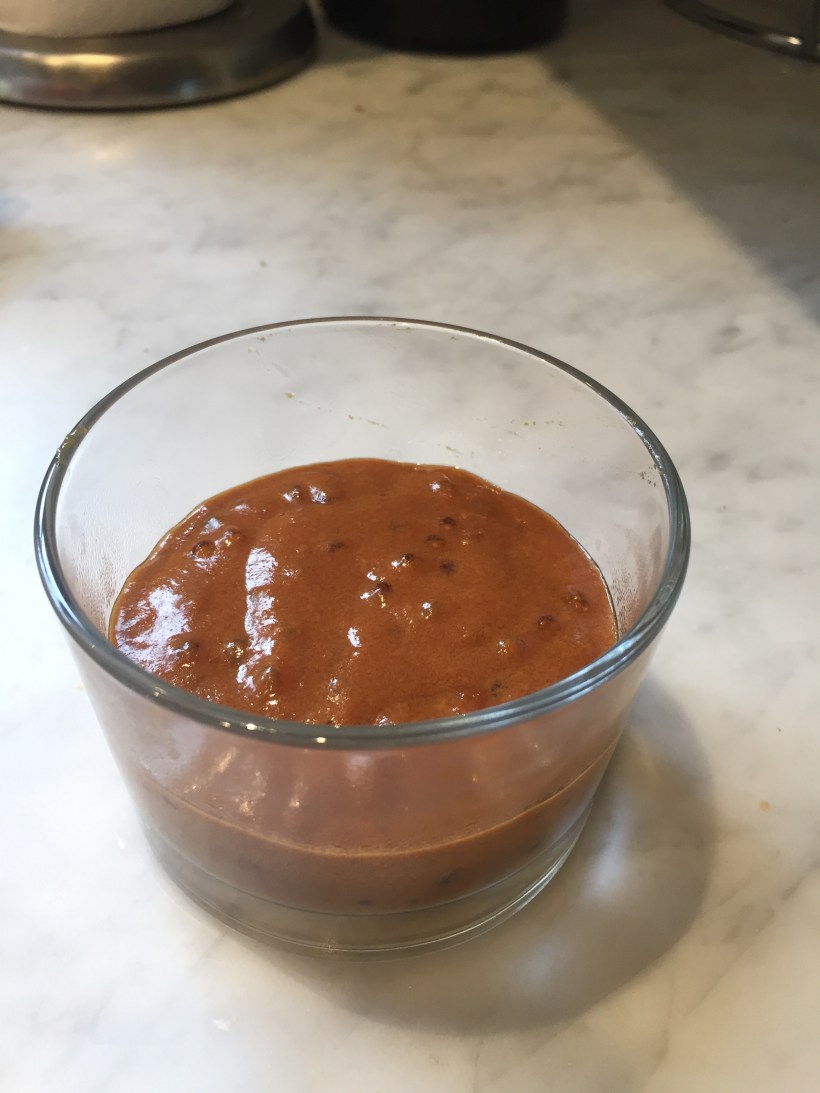
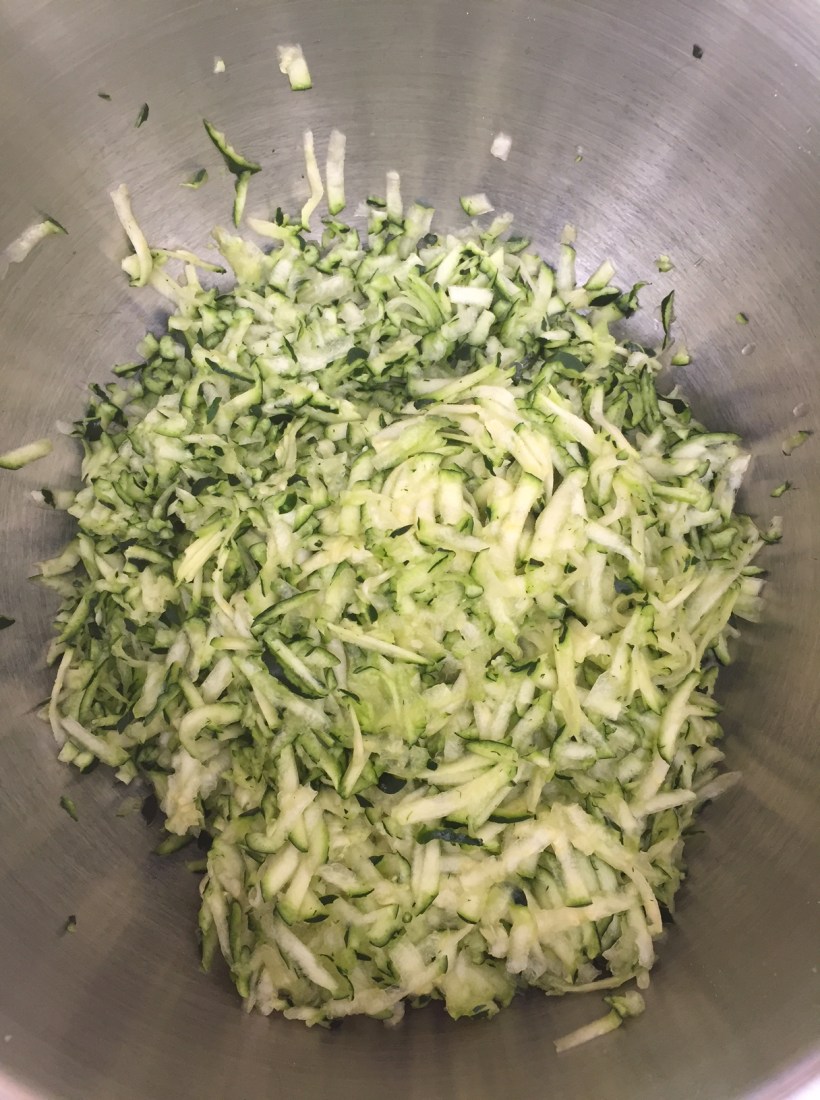
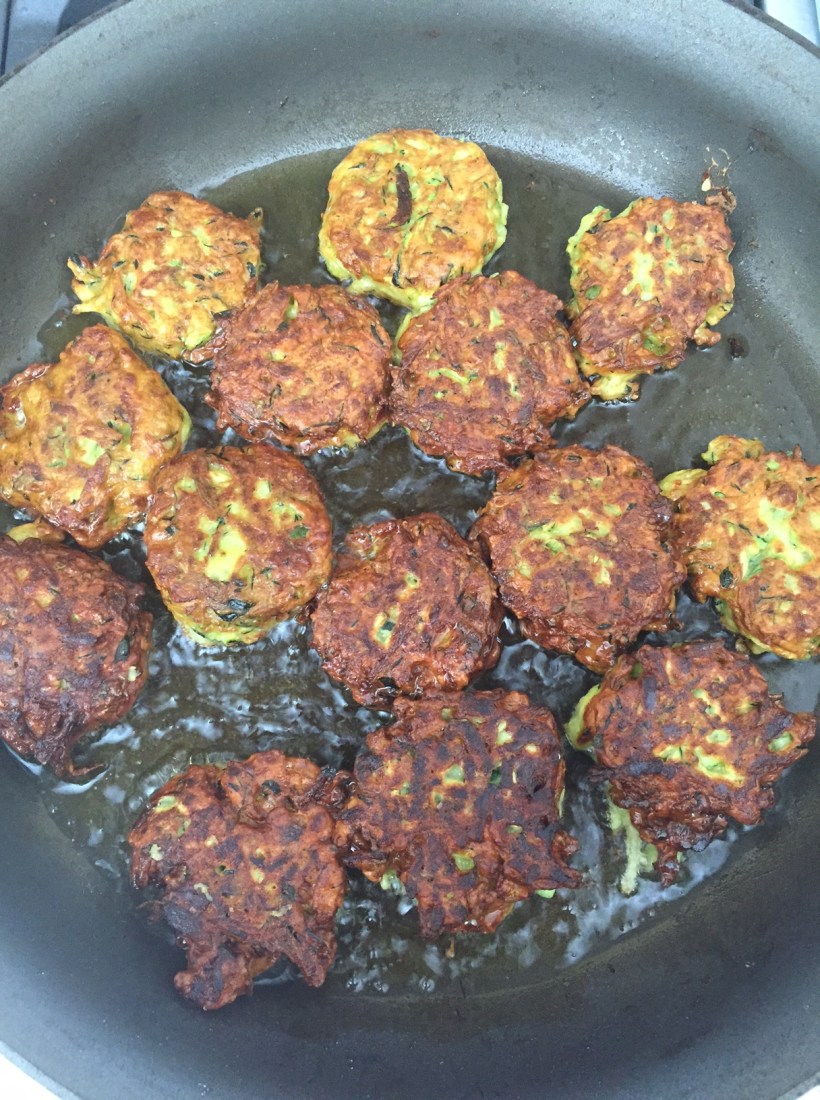
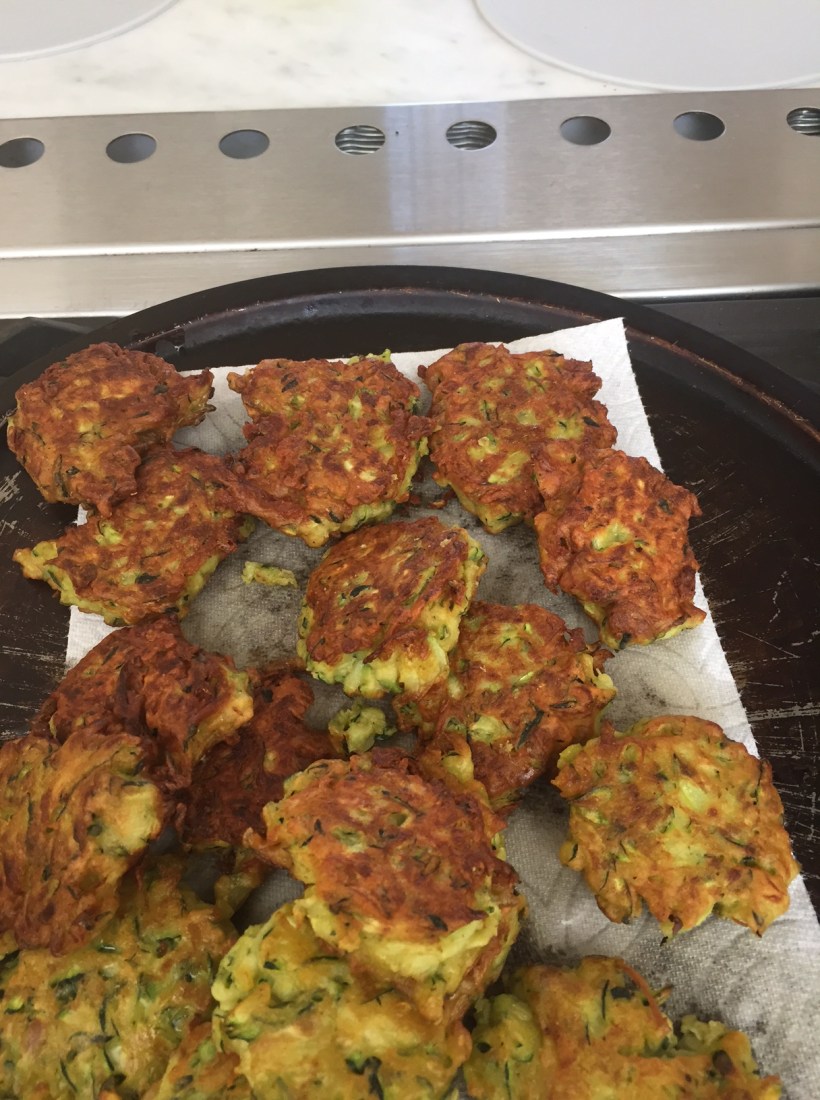
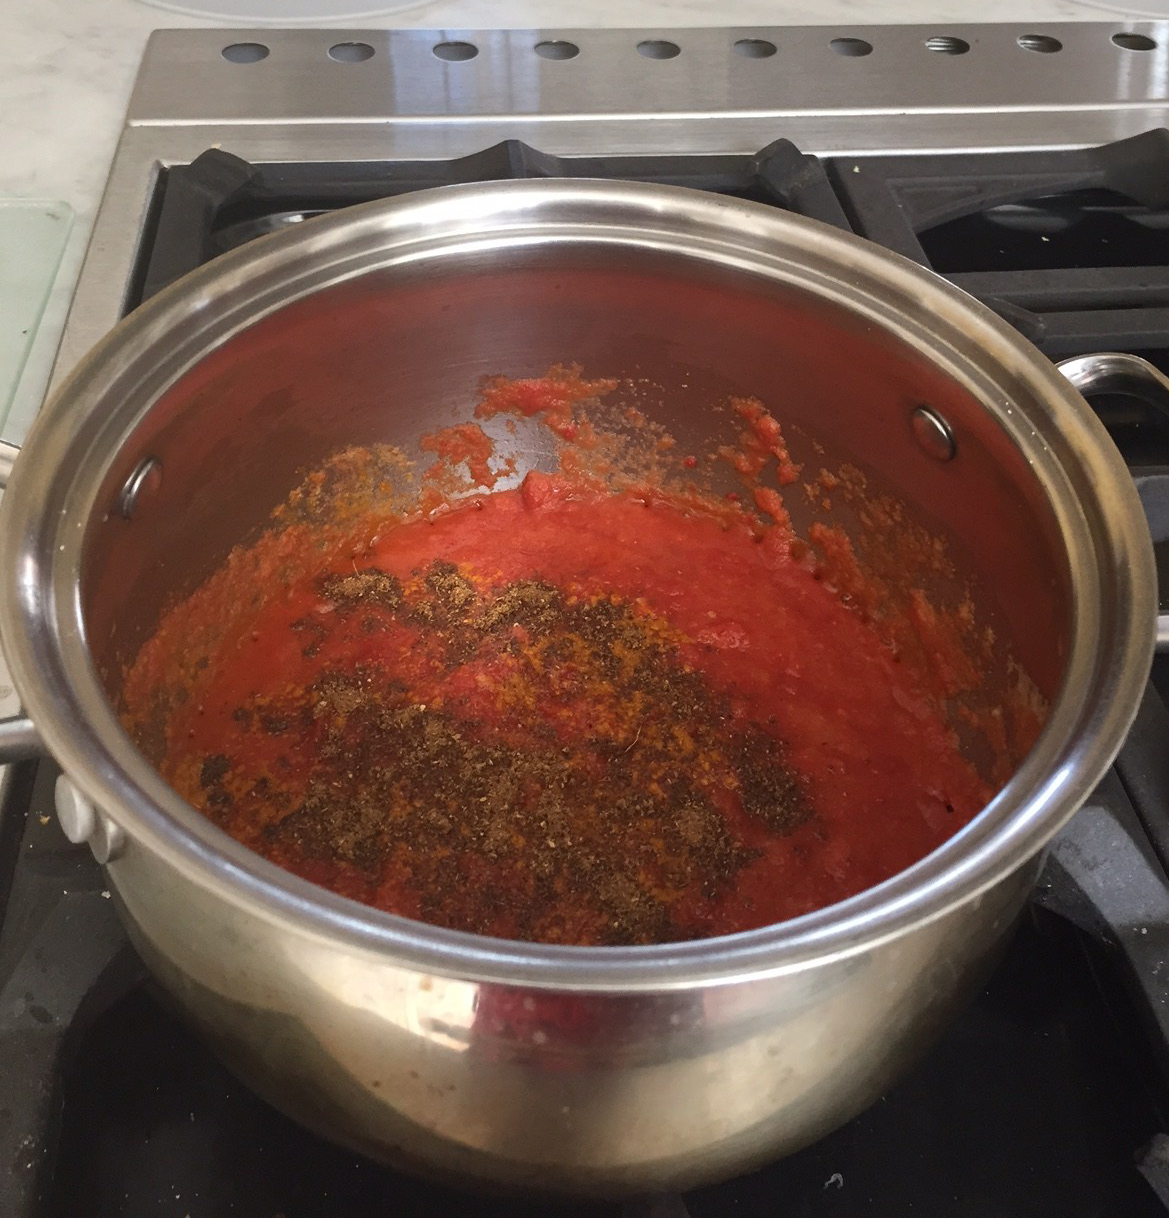
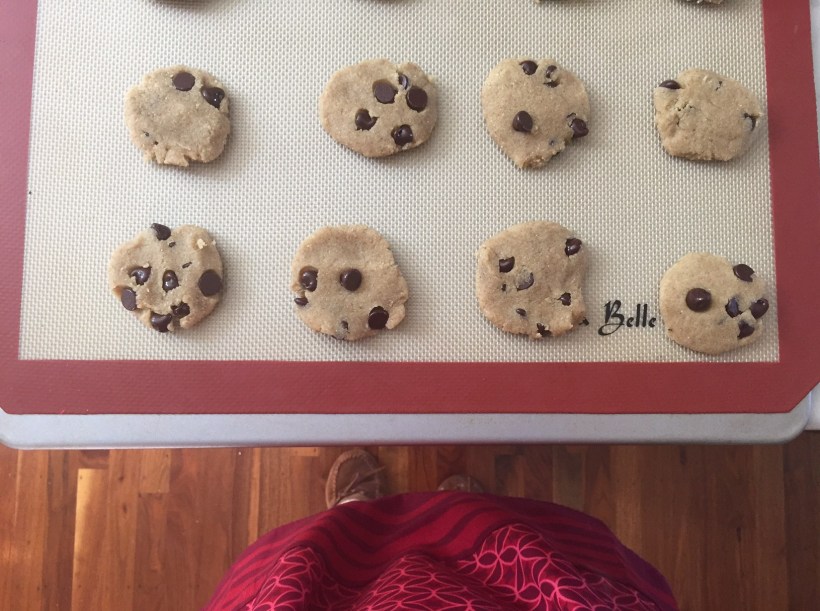
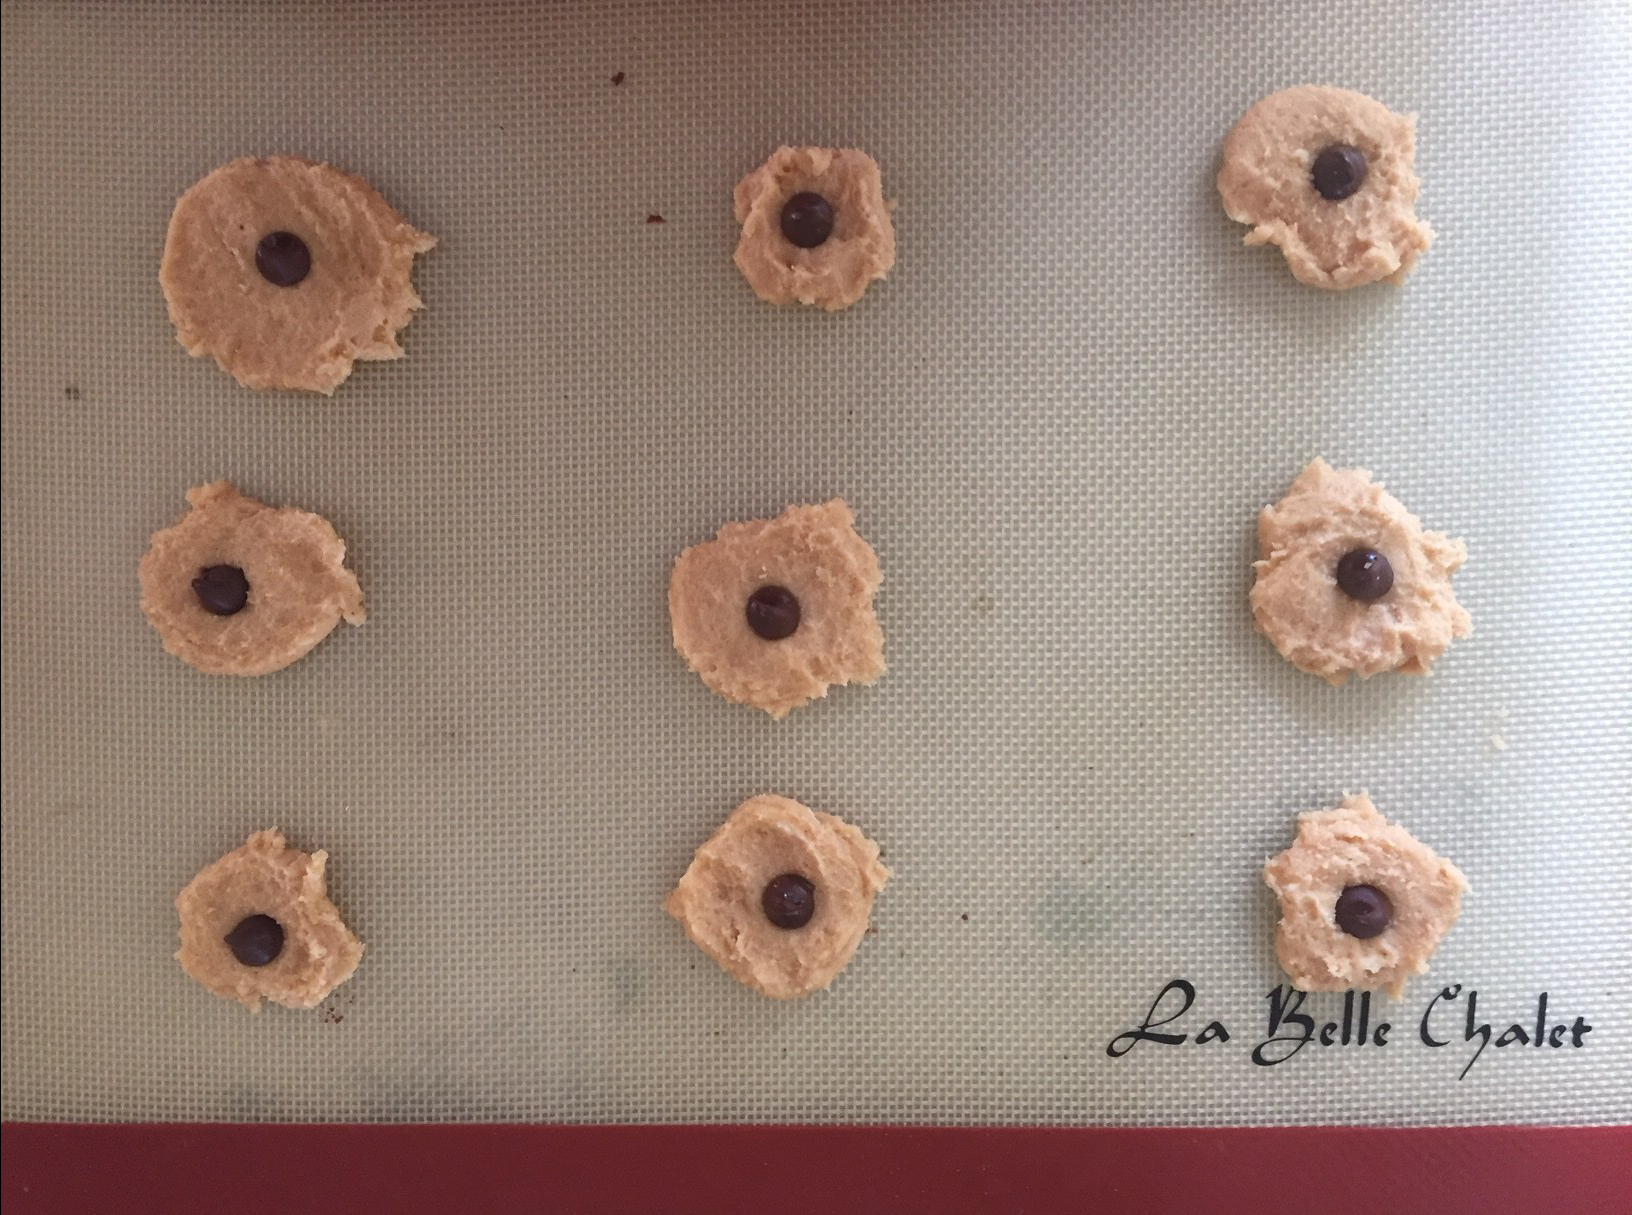
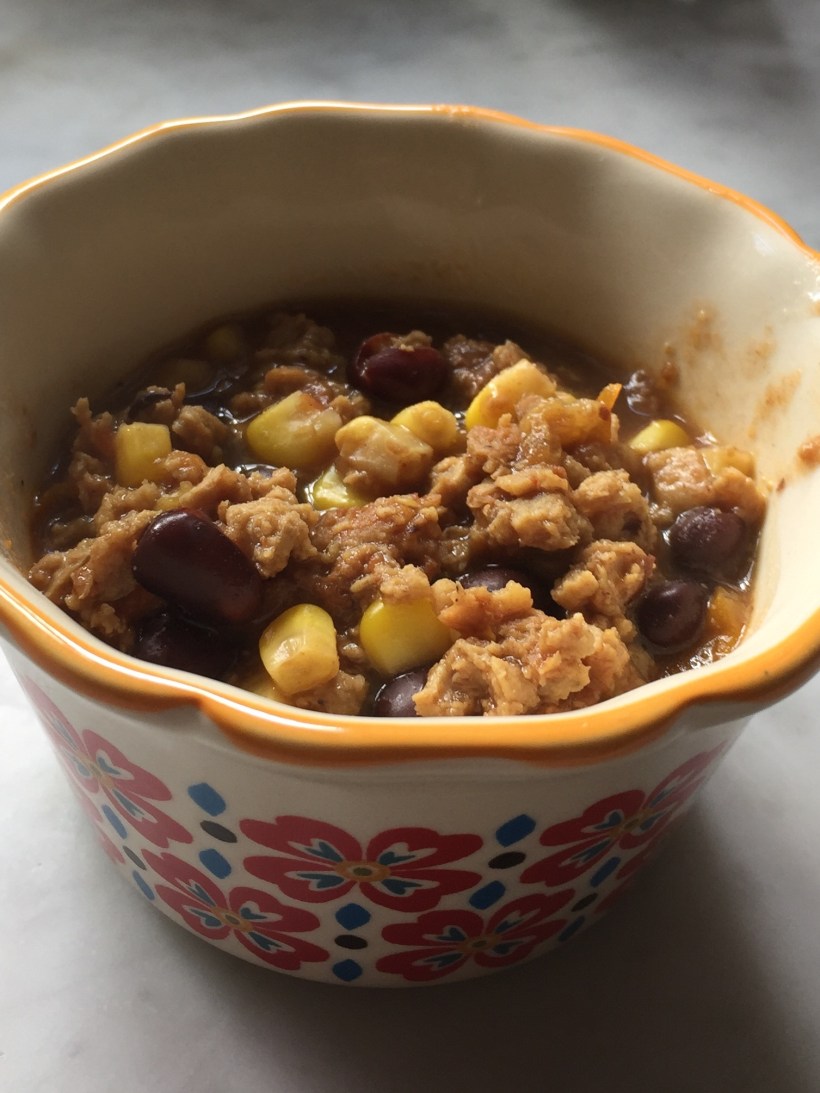
The “lose” that I am referring to, is the attempt at making Caramel Tapioca Pudding. I will share some of the beautiful pics below – but will spare you the recipe, since it did not taste anywhere near as good as it looked. And, my husband said that it looked like poo in the pics. Stay tuned for another “real dessert” recipe – the girls have been complaining that there is only “real food” on here!


Love to you all,

Pooja

IMG_3537-1

IMG_3541-1

IMG_1241


Pan-Fried Brussels Sprouts

Dear Readers,


We have all been battling colds for the last few days – I am hoping that it is the last one of the season. Things have otherwise been busy as well – we are planning a short trip to NYC next week, just the older girls and me. We are really excited to explore together! They are such fun ages for a trip like this and we have been plotting our itinerary for a couple of weeks. Fingers crossed that the weather stays nice.

I will be co-hosting a conference with my friend Dr. Nwando Olayiwola. She is incredible – a true inspiration. She has written a book about how to succeed as a Minority Woman Professional (MWP) and it is spot on – tips that come straight from her experiences and are explained with heart. She has a list of ten ingredients that are essential. One of the ingredients is “Bring Others Up”. I loved reading this part of the book because this is something that I see Nwando live in her everyday life: she is always looking for an opportunity to elevate others.

The conference is one in a series that has been created to help MWPs “survive and thrive”.

If you are interested in learning more, you can find the book here: https://www.amazon.com/Minority-Women-Professionals-MWPs-MVPs/dp/0692720448/ref=sr_1_2?ie=UTF8&qid=1490328277&sr=8-2&keywords=olayiwola

For more information about the conference: https://inspire-health-solutions-llc.myshopify.com/pages/conference-information

Today for dinner, I made a simple pasta with spring vegetables. The brussels sprouts were a side – to get more veggies in. Brussels sprouts can be a bit bitter and I find that this method of cooking really brings out the flavor and gets rid of the bitterness because it allows for them to cook through. The red bell pepper provides a nice contrast in terms of color and flavor.

IMG_1236

Ingredients: 

1 pound brussels sprouts (or 20-30)

1/2 red bell pepper (optional)

2 tablespoons olive oil

1 teaspoon water

1 tablespoon butter

salt and pepper to taste

Instructions: 

  1. Slice the brussels sprouts very thin (I get about 6-8 slices per sprout) – alternatively you can use a mandolin but I get nervous about slicing my finger off. Dice the bell pepper.
  2. Heat the olive oil until shimmering in a cast iron or nonstick skillet. Add the brussels sprouts and stir well to coat. Season with salt.
  3. Add the teaspoon of water and cook, covered, for about 1 min. When you remove the cover, the sprouts should be bright green in color.
  4. Sprinkle a generous amount of black pepper and stir. Add in the bell pepper if using. Cook uncovered, stirring frequently, until the sprouts start to brown and get a little crispy around the edges (2-4 minutes).
  5. Add in the butter, stir until coating the sprouts. Cook for another minute to incorporate the flavors. Sprinkle additional salt as needed.
  6. Enjoy!


Zucchini Kofta

Happy Tuesday everyone! Today is another beautiful sunny day – much needed after all of the rain. The East Coast is not as lucky as us – right now they are being pummeled by winter storm Stella.

The warm weather prompted me to look at this link and I saw some lovely things. The dresses inspired my daydreaming about vacation….

http://www.marieclaire.com/fashion/news/g4502/best-summer-dresses-2017/?src=nl&mag=mar&list=nl_mhb_news&date=031417

Along with this weather comes a heap of summer squash. Every time that I get a bunch of it (from our local CSA – Imperfect Produce – if you haven’t checked it out, seriously, you need to! Saves the produce that farmers would not typically be able to sell so prevent food waste. And, I get my organic fruits and veggies at much less than the farmer’s market price)…I make this dish.

This is basically an Indian, vegetarian, meatball and gravy dish. I serve it over basmati rice. The kids love it – and they don’t typically eat zucchini squash in other forms. It does take a bit of prep, but it’s worth it in the end, I promise!

Zucchini Kofta

Ingredients: 

4-5 medium summer squash (green or yellow will work)

1-2 1/2 cups chickpea flour

Tomatoes (2-3 fresh, or one can of tomatoes)

1 clove garlic

1 medium onion

Ginger powder (or fresh if desired)

1/4 tsp turmeric

1 tsp garam masala

1 tsp cumin

Salt, to taste

Cream or milk (plant milk also ok) – if desired for the gravy

2 cups water

Oil – for shallow frying

Instructions: 

  1. Prepare the zucchini balls first: grate the zucchini using a box grater. Squeeze out excess moisture with cheesecloth if desired. Add salt to taste (approx 3/4 teaspoon), cumin, and chickpea flour. Incorporate well using your hands – the mixture should be able to hold shape into patties – add more of the flour until the desired consistency in achieved. I didn’t squeeze out the extra moisture, so I needed about 3 cups of the flour.

IMG_1202

2. Heat oil about 1 inch deep in a frying pan and, once hot, place the patties into the oil. Let them cook until golden, about 3-4 minutes on each side. Flip, and cook through on the other side.

IMG_1205

3. Place on paper towels on a cookie sheet to drain the excess oil.

IMG_1206-1

4. Now, make your gravy. Heat 1 tablespoon of oil in a medium sized pot. When hot, add chopped garlic, chopped ginger (if using) or ginger powder. Cook until garlic is fragrant, about 30-60 seconds. Add the onion and cook until translucent, 3-5 minutes, constantly stirring so the garlic doesn’t burn. Then add the tomatoes (chopped) or the sauce. Cook until the oil starts to separate out from the mixture, 7-10 minutes. Add additional oil as needed to prevent sticking.

5. Once the oil starts to separate, turn off the heat and blend the mixture to form a smooth past – add water as needed. You can do this using a bullet or a hand blender or a food processor. Put the paste back into the pot, add the garam masala, turmeric and 2 cups water and mix well.

img_1203.jpg

6. Simmer on low for 10 minutes to incorporate all of the flavors. Add a splash or cream or milk, if desired.

7. Turn off the heat and place the balls into the gravy, let soak for minimum 30 minutes before serving.

8. Enjoy!

IMG_1207

Love,

Pooja

Gluten Free Cookies: Two Ways

Dear Readers,

Happy International Women’s Day! Today I am especially thankful for a group of women that I have in my life, my Book Club Ladies. When I joined this book club a few years ago, I had no idea that these women would change my life. Each and every one of these women is incredible: kind, loving, amazing mothers and friends. Once a month we get together to discuss a book and have a delicious dinner and share our lives with each other. We have all been there for each other for everything: celebrations and hardships and everything in between. We have such a good time with each other’s company but also with the food.

Usually, whoever is hosting makes the main dish and then everyone contributes the rest. I tend to bring dessert and it’s usually gluten free for a couple of ladies in the group. Our next meeting is tomorrow and in honor of these women, I baked two types of cookies: Coconut cookies (only three ingredients!) and a new mashup that I created, Rye and Almond-meal based chocolate chip cookies. Both turned out delicious! Be warned, the coconut cookies have a very strong coconut flavor as they are made with coconut flour – however, they are paleo friendly and low carb.

Rye/Almond Chocolate Chip Cookies 

IMG_1211

(Loosely Adapted from the King Arthur Flour Almond Chocolate Chip Cookies)

Makes 12-18 cookies depending on the size

Ingredients: 

1/4 cup sugar

1/4 teaspoon each of baking soda, baking powder and salt

2 tablespoons butter (room temperature)

1 egg

1 teaspoon vanilla

1 and 1/2 cups almond flour

1/2 cup rye flour

1/2 cup chocolate chips

Instructions: 

  1. Pre-heat over to 350 degrees.
  2. Mix sugar, butter, baking soda, baking powder and salt in a medium bowl with a wooden spoon.
  3. Mix in the vanilla and egg – beat for one minute until well-mixed.
  4. Add in the flours and chocolate chips.
  5. Use your hands to make the cookies – flatten them to about 1/4-3/8 of an inch thick.
  6. Place on a cookie sheet on parchment paper or a silpat mat and bake for 8-12 minutes until browned at the edges.
  7. Remove from oven and let cool for a few minutes before moving to a rack to cool.
  8. Enjoy warm or if you like crispier cookies, wait until they cool to room temperature.


3-ingredient Coconut Cookies IMG_1214

Note: The nerd in me loves the proportions of this cookie: 3-2-1

Makes 8 or so cookies

Ingredients:

3 Tablespoons coconut flour

2 Tablespoons butter, softened

1 Tablespoon honey

IMG_1210

Instructions: 

  1. Preheat oven to 350 degrees.
  2. Use a wooden spoon to mix ingredients in a small mixing bowl – stir until the dough comes together with all of the butter incorporated. Dough will be very sticky.
  3. Divide the dough into 8 small balls and place on the cookie sheet (again I use parchment or a silpat mat on top of the cookie sheet).
  4. Press the balls down slightly to flatten.
  5. Bake 8-10 minutes until the edges are slightly golden – watch them carefully as they can tend to brown quickly once the browning starts.
  6. Let cool on the sheet. They will harden at room temperature – however, when they come out of the oven, they are pretty soft.
  7. Enjoy!


img_1213.jpg

Thank you for visiting!

Love,

Pooja

Vegetarian Chili

Dear Readers, this weekend was a big one for me – my oldest daughter turned 11. We are so blessed to have this amazing daughter – she is an incredible big sister and is so self-assured in a way that I definitely was not when I was her age (and still sometimes am not!). She is smart and witty and kind and I thank my lucky stars every day to have her to love. My kids’ birthdays are always a reminder to me about the slow but steady march of time. I love this selfie that she took on her birthday, just as she headed out to school.

IMG_1174


Also, this weekend, my first orchid of the season bloomed! I love when this happens – it really signals the beginning of spring for me and is such a surprise, because I never know if   they will bloom again once the blossoms fall.

IMG_1197

Today continues to be a bit rainy and cold outside – but definitely better that the hail that we had this weekend! Because today seems like a good day for something warm and cozy to eat, I am decided to make chili.

In regards to the meat substitute for this dish, I tend to always use Morningstar Farms Grillers (Original). Because my family grew up vegetarian, I have been eating these for as long as I can remember. These particular veggie burgers are my favorite because they are “meaty” but don’t taste like meat (unlike Boca burgers which are a little too meat-like for me).

IMG_1192-1


If you don’t want to use a meat substitute, you can definitely throw in an additional can of beans or use tofu instead. If you make this recipe, please share pictures in the comments.

Thank you all for stopping by – have a peaceful rest of the week.

Vegetarian Chili

FullSizeRender-1

Ingredients: 

One package Morningstar Farms Griller’s original burgers (thawed at room temp or warmed through in the microwave)

One can of black beans, rinsed and drained

1 cup frozen corn

1 cup chopped tomatoes (I used halved cherry tomatoes)

2 Teaspoons taco seasoning

2 Tablespoons olive oil

1 teaspoon salt

1-2 cups water or vegetable broth

Pinch of turmeric for color

Instructions: 

  1. Saute tomatoes in olive oil until softened – about 2-3 minutes
  2. Add in the burgers and mash using potato masher until broken up.
  3. Add in the corn, beans, taco seasoning and stir.
  4. Put in the water or broth and reduce heat to low. Add in salt and turmeric. Simmer over low heat for 30 min, stirring occasionally.
  5. Ladle into bowls and serve hot with tortilla chips for dipping and condiments (cilantro, sour cream, shredded cheddar cheese, chopped onions, jalapeños, etc.)

Notes: 

I do sometimes add in a spoonful of tomato past to add more of a bright red color to the chili – if you are using it, add it at the same time as when you are cooking the tomatoes.

Enjoy!

Love,

Pooja


Mexican Quinoa

image2-1Dear Readers,

I hope that you are having a lovely Thursday. The last few days have been busy ones and I find that sometimes, especially when I am tired or hungry, I have a hard time being positive. When that happens, I usually call my sister, or eat some dark chocolate, or pause and take a breath and think of something that I am grateful for. I came across this article yesterday that has some great tips on how to let go of negative thoughts: http://camillestyles.com/wellness/life-lessons/how-to-let-things-go/?slide=12

Please share what you do when you are feeling this way – having a toolbox of strategies always helps!

This meal was an invention when I was trying to clean out the fridge and make a well-balanced meal. Everyone liked it so much that it become a staple in our house – we often have it once every couple of weeks for dinner. It also makes great leftovers. Because of the base ingredients, it is also high in protein and gluten free. You can easily leave out the cottage cheese to make it dairy free as well.

Mexican Quinoa

Ingredients:

1 cup quinoa, soaked for ten minutes and rinsed 2-3 times

1 cube vegetable bouillon or 1 cup vegetable broth

Finely chopped vegetables (I usually use red pepper, zucchini, and frozen corn)

1 cup cottage cheese – full fat preferred

Taco seasoning (optional, can also use cumin alone)

1 can of black beans

1-2 Tablespoons olive oil

Toppings: chopped cilantro, chopped green onions, sour cream, chopped avocado

Instructions:

  1. Cook the quinoa with one cup broth (or boullion and 1 cup water)and an additional 1/4 cup water. Heat until the water is boiling, then turn down to minimum and cook, covered, until the liquid has absorbed (about 10 minutes). I find that the 1:1 and 1/4 ratio makes for quinoa that is a bit al dente so it holds up well when mixing with other things.
  2. Heat oil in a cast iron pan, once hot, saute the veggies until softened – about 7-10 minutes. Season with salt and cumin or taco seasoning (if using).
  3. Mix the black beans (drained) into the veggie mixture and cook until warmed through – another 5 minutes.
  4. Add in the cottage cheese and stir until incorporated.
  5. Now mix the quinoa into the veggie mixture until well mixed.
  6. Serve warm or at room temperature with desired toppings. Our family usually does sour cream and cilantro.
  7. Enjoy!

image1-2


End Of Winter Crisp

image1-1

Hello Dear Readers, I hope that you are having a good start to your week. The last few days have been anxiety-provoking as the powers-that-be continue to remain silent about all of the hate that has arisen in the last few months. I saw this video last night and it gave me hope, I encourage you to watch it if you need a dose of that right now too: http://valariekaur.com/2017/01/6348/

On a sweeter note, I made this crisp the other day because it is getting to the end of the winter fruit season and I am getting tired of eating apples and pears. I can’t wait for peaches and nectarines and berries! The nice thing about this crisp is that it is gluten free, comes together quickly and it can be made with whatever you have on hand: apples, pears, or a mix of both. I eat this in the morning for breakfast with a dollop of greek yogurt, but it can be enjoyed as a snack or dessert with ice cream too.

End of Winter Crisp

Ingredients:

4-6 pears or apples, cored and chopped into bite size pieces

2-3 Tablespoons sugar (to taste)

1 Tablespoon lemon juice

1 Tablespoon corn starch

1 and 1/2 cups oats

1 cup almond meal

1/3 cup sugar

3/4 Teaspoons salt

1/4 cup olive oil

2 Tablespoons butter

Instructions:

Preheat the oven to 375 F.

In a medium bowl, toss together the fruit, sugar, lemon juice and cornstarch. Set aside.

In another medium bowl, mix the oats, almond meal, sugar and salt. Add in the oil and mix thoroughly.

Butter a 2-quart baking dish, spread in the filling and spread the topping on top.  Cut the butter into small chunks and scatter over the top of the crisp, evenly distributed. This adds a nice pop of deliciousness to the crisp. Bake for 35-50 min, depending on your oven and how firm your fruit is. You want the top to brown evenly and you want to see the fruit bubbling underneath. I usually cover mine for the first 30 minutes and then uncover for the top to brown – but that is because my oven gets very hot.

Enjoy with yogurt or ice cream – best served warm. Baby loves it for breakfast too!

image2

Thank you for visiting – until the next time we meet!

Love,

Pooja


Starting Somewhere.

Welcome to my new cooking and baking blog. I hope that you find something you like to eat here!

cropped-img_1049.jpg

Happy Friday everyone! This is my first post for this blog that I have been thinking about starting for a long time. My name is Pooja and I am a mother (to three amazing girls), a family doctor and a wife. I enjoy cooking and experimenting with making meals that are healthy, yummy and don’t take too much time or use too many ingredients. Our family is primarily vegetarian and so the dishes here will be meat-free. I also love to bake and have some lovely people in my life who are gluten free so I experiment with that as well.

My blog support team will consist of: my daughter Diya (10) who is the photographer, my daughter Esha (8) who is the sous chef, and my daughter Nisa (1) who is the taste tester.

I have been sitting on the idea of this blog for ages. What finally inspired me to get started was Lindsay (from PinchofYum.com) and her story about her baby Afton. She has been one of my favorite bloggers for a long time and she continues to write, in the face of the loss of her baby son. And she writes in a way that continues to be inspiring and uplifting, a way that celebrates the beauty of that short life. So, I dedicate this first post to Lindsay, Bjork and Afton.

Today, I am writing about this simple, but lovely lunch I had a couple of weeks ago. It took almost no hands-on time and still shone with rich flavors.

Butternut Squash with Dukkah and Greek Yogurt

Ingredients: 

1 butternut squash, halved and the seeds scooped out

Dukkah spice mix (a Middle Eastern spice mix, available in most grocery stores, or make your own: http://www.taste.com.au/recipes/dukkah-2/19f316ec-0fec-4221-aa26-d5f7c676ced3)

Greek Yogurt (Full Fat best, but any ok)

Olive oil

Salt, Pepper

How to: 

  1. Drizzle some olive oil in the bottom of a roasting pan and place butternut squash, cut (flesh) side down. Bake at 375 degrees until slightly cartelized and soft all the way through (about 30 minutes).
  2. Once the squash is done, let cool slightly and then peel off the skin on the outside.
  3. Cut squash, put on plate. Dollop some greek yogurt on the side and sprinkle with dukkah to taste.
  4. Sprinkle with salt, pepper and a drizzle of olive oil.
  5. Enjoy!