We are ready and gearing up for the summer! I am hoping that the kids get a lot of time outside and at least some time being bored. We are trying to figure out a plan for the summer so they don’t lose some of their skills (the summer backslide I think it is called). I don’t want them to spend the time doing workbooks and so we are working together to come up with some things they can learn that will be inspiring and fun.
These are some of the things we have come up with so far:
- This list of the 100 books everyone should read. We are going to pick some that are appropriate for their ages. Esha wants to read A Wrinkle in Time and Little Women. Diya is going to start with To Kill a Mockingbird: https://www.goodreads.com/shelf/show/100-books-everyone-should-read
- This list of Ted talks: https://www.ted.com/playlists/163/7_talks_to_make_you_love_scien
- Khan academy has videos on world history and religion, timely in light of what is going on in the world: https://www.khanacademy.org/humanities/world-history
- Hindi classes – taught at home, by me, once a week. Hardest to stick to in terms of schedule – but worthwhile.
- Out-loud math: Esha is going to practice counting forward and backward by 4, 6, 7, 8 etc.
Let me know if you have other ideas!
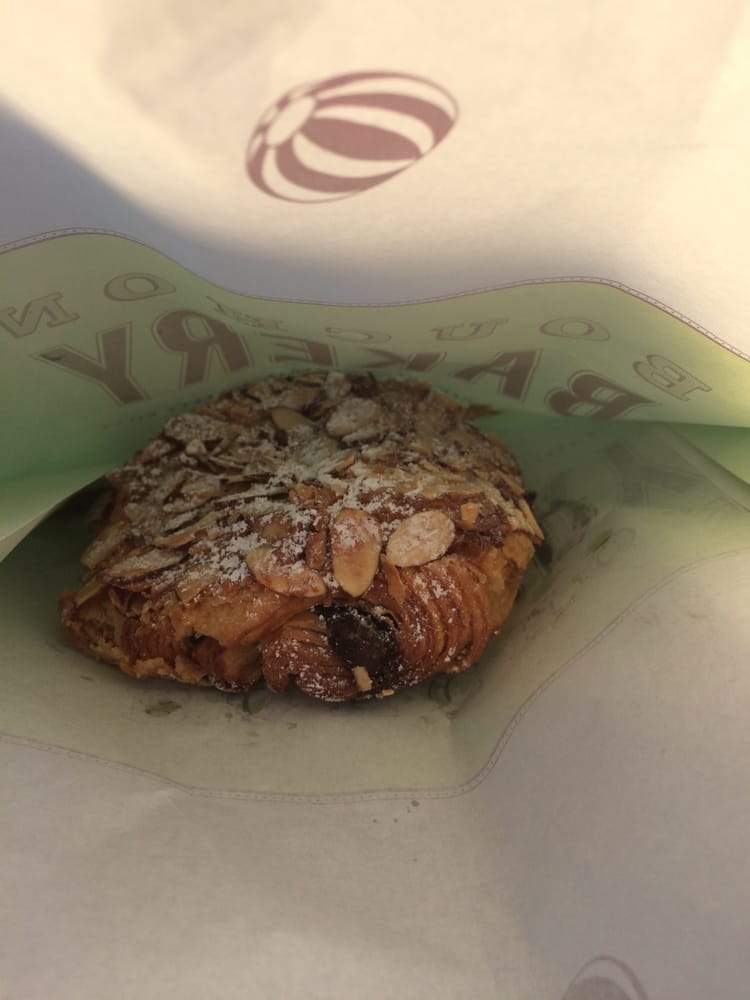
This week I made cookies. They were pretty delicious. I heard about them from Lindsay of Pinch of Yum and they are from the LoveRealFood cookbook (link: https://www.amazon.com/Love-Real-Food-Feel-Good-Vegetarian/dp/1623367417/ref=as_li_ss_tl?ie=UTF8&qid=1496280551&sr=8-1&keywords=love+real+food&linkCode=sl1&tag=recipepost-20&linkId=b94d95f58ca4a66d3ab1e36c2f07e4cf), They were super simple and definitely the best PB cookies I have had. Give them a try, you won’t be disappointed!
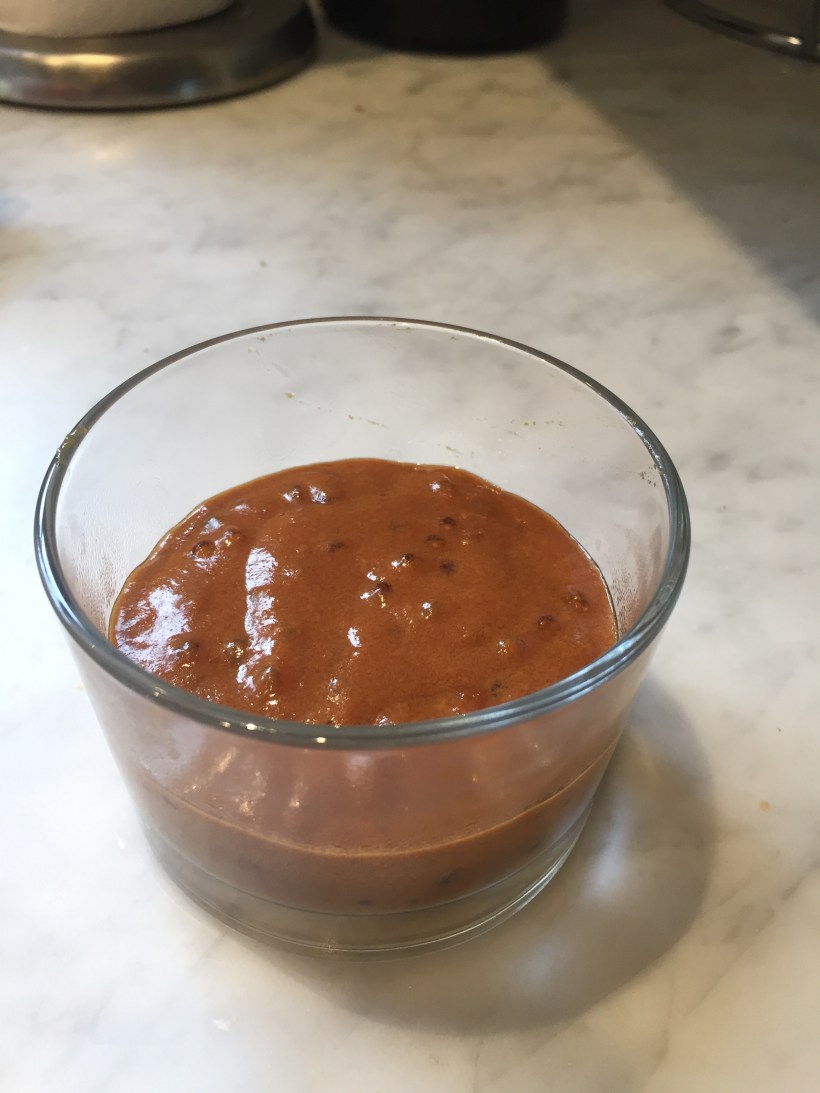
I did start craving chocolate and peanut butter while I was making them so I made a quick snack to get me through. Trader Joe’s dark chocolate with a swipe of PB:


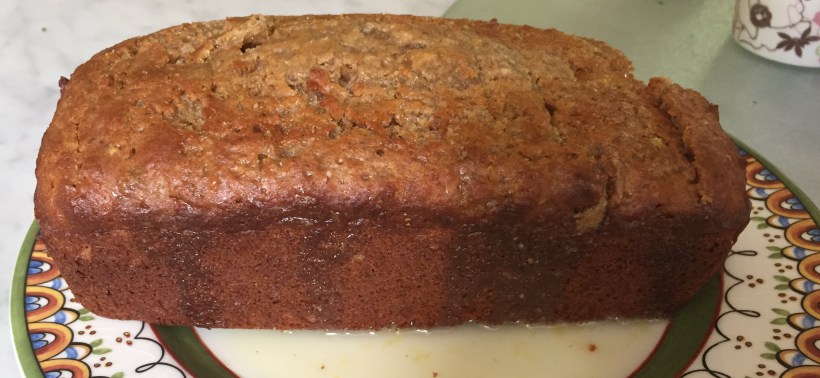
Peanut Butter Chocolate Chip Cookies
Ingredients:
16 ounces peanut butter
1/2 teaspoon vanilla
1/4 teaspoon salt
2 eggs
1 cup chocolate chips
1 cup brown sugar (I reduced this from the originally suggested 1.5 cups)
Instructions:
- Preheat over to 350 degrees.
- Mix sugar and eggs until smooth in a medium bowl using a sturdy spoon.

2. Add in vanilla and salt. Stir.
3. Add in peanut butter and mix until well incorporated. 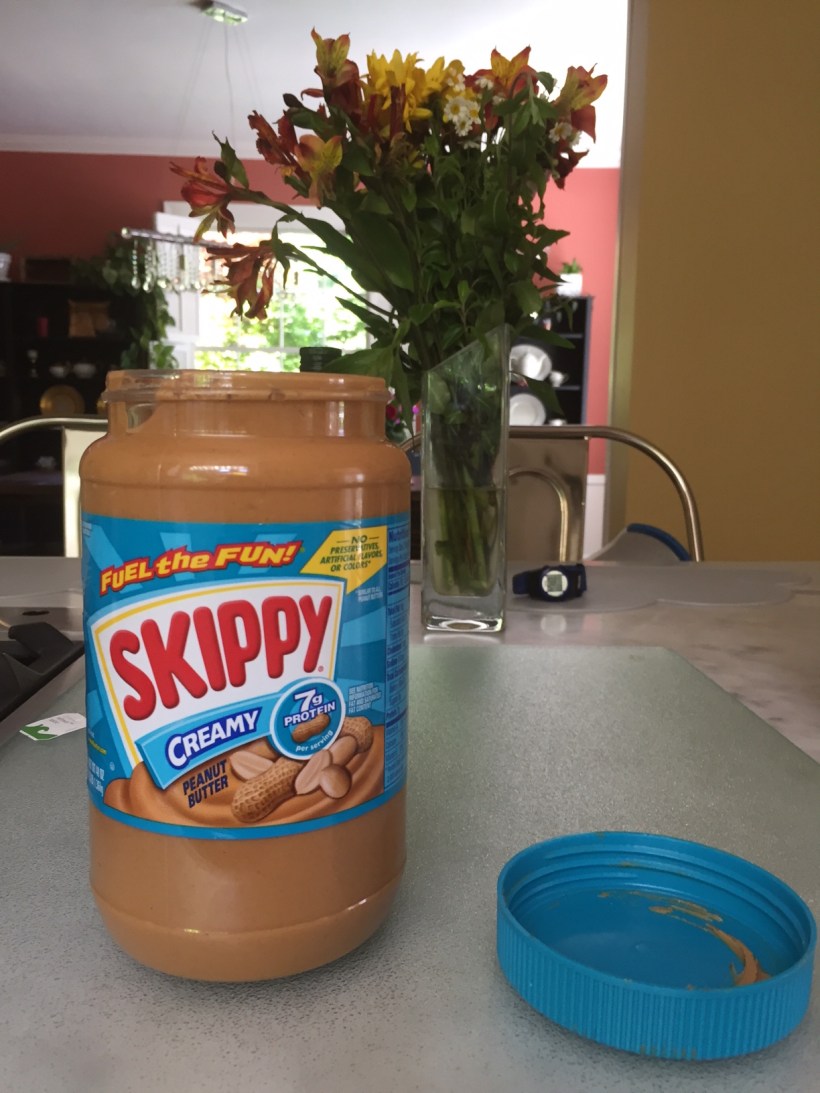
4. Add in chocolate chips and stir well. 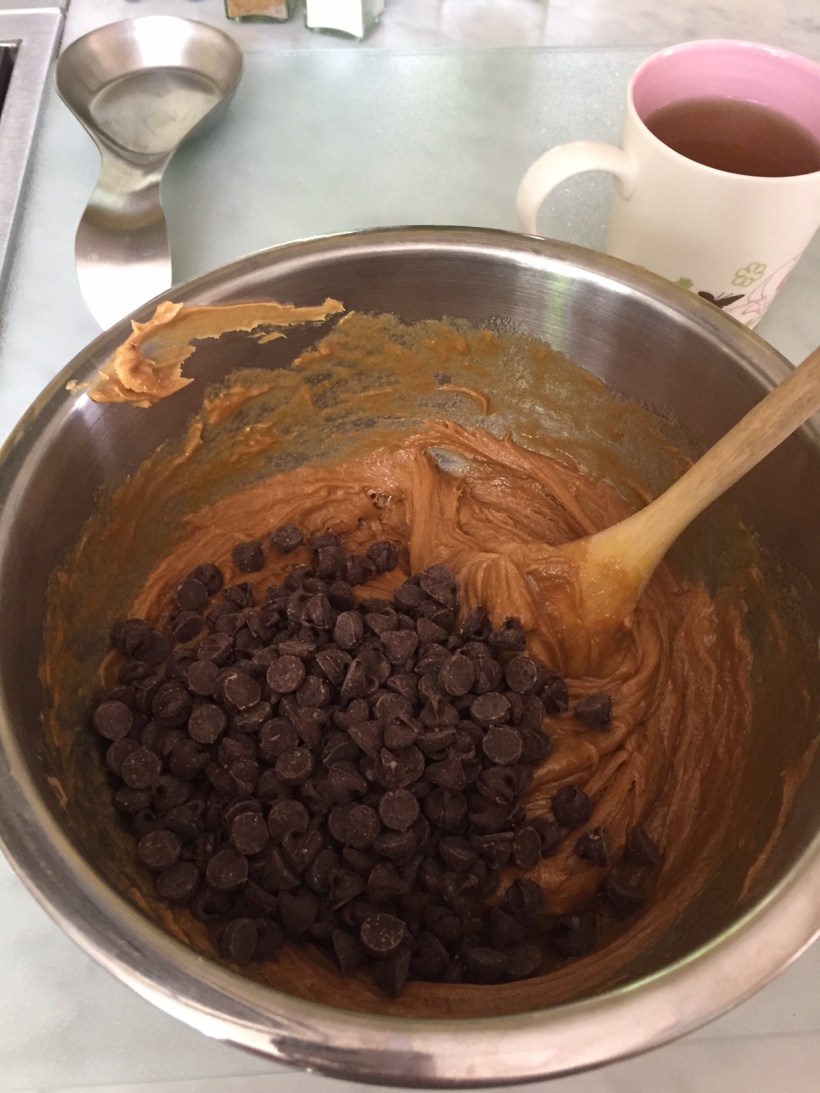
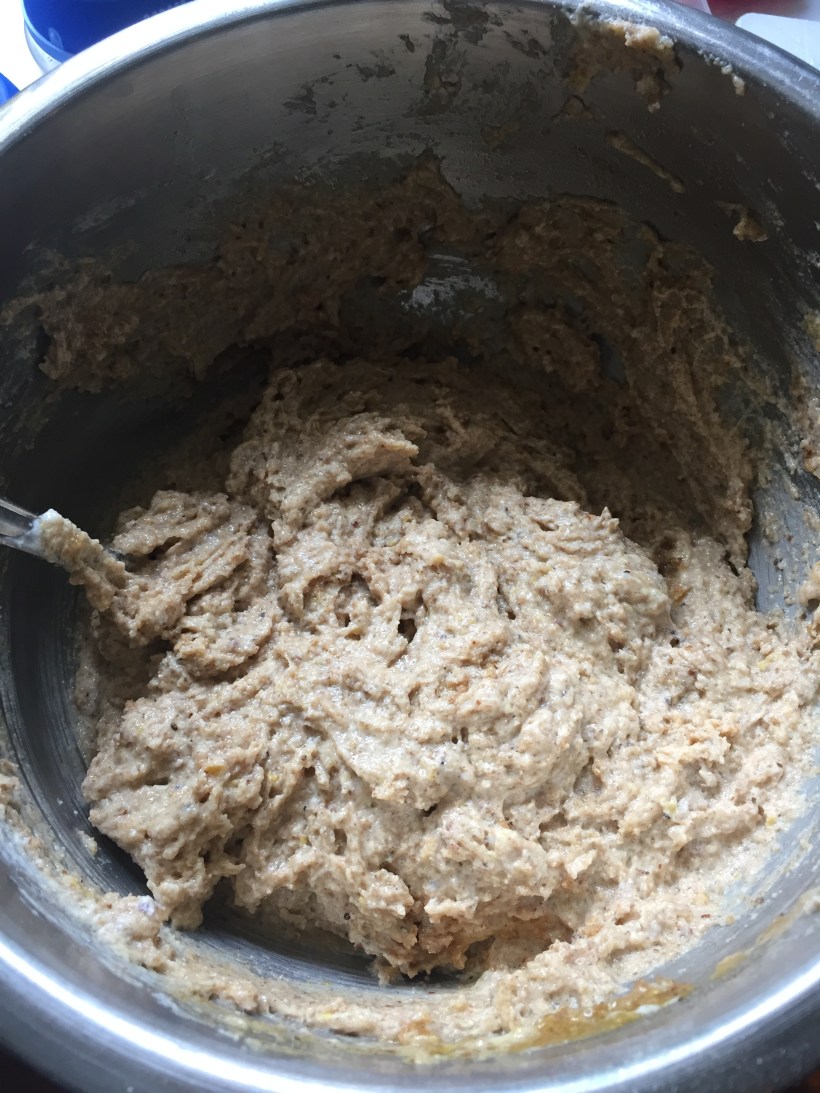
5. Chill the dough for at least 15 minutes (I chilled for 30 minutes).
6. Use a cookie scoop (I am not that fancy, I used two spoons) to scoop out dough onto a silpat baking mat on a cookie sheet (can also use parchment paper on a cookie sheet). 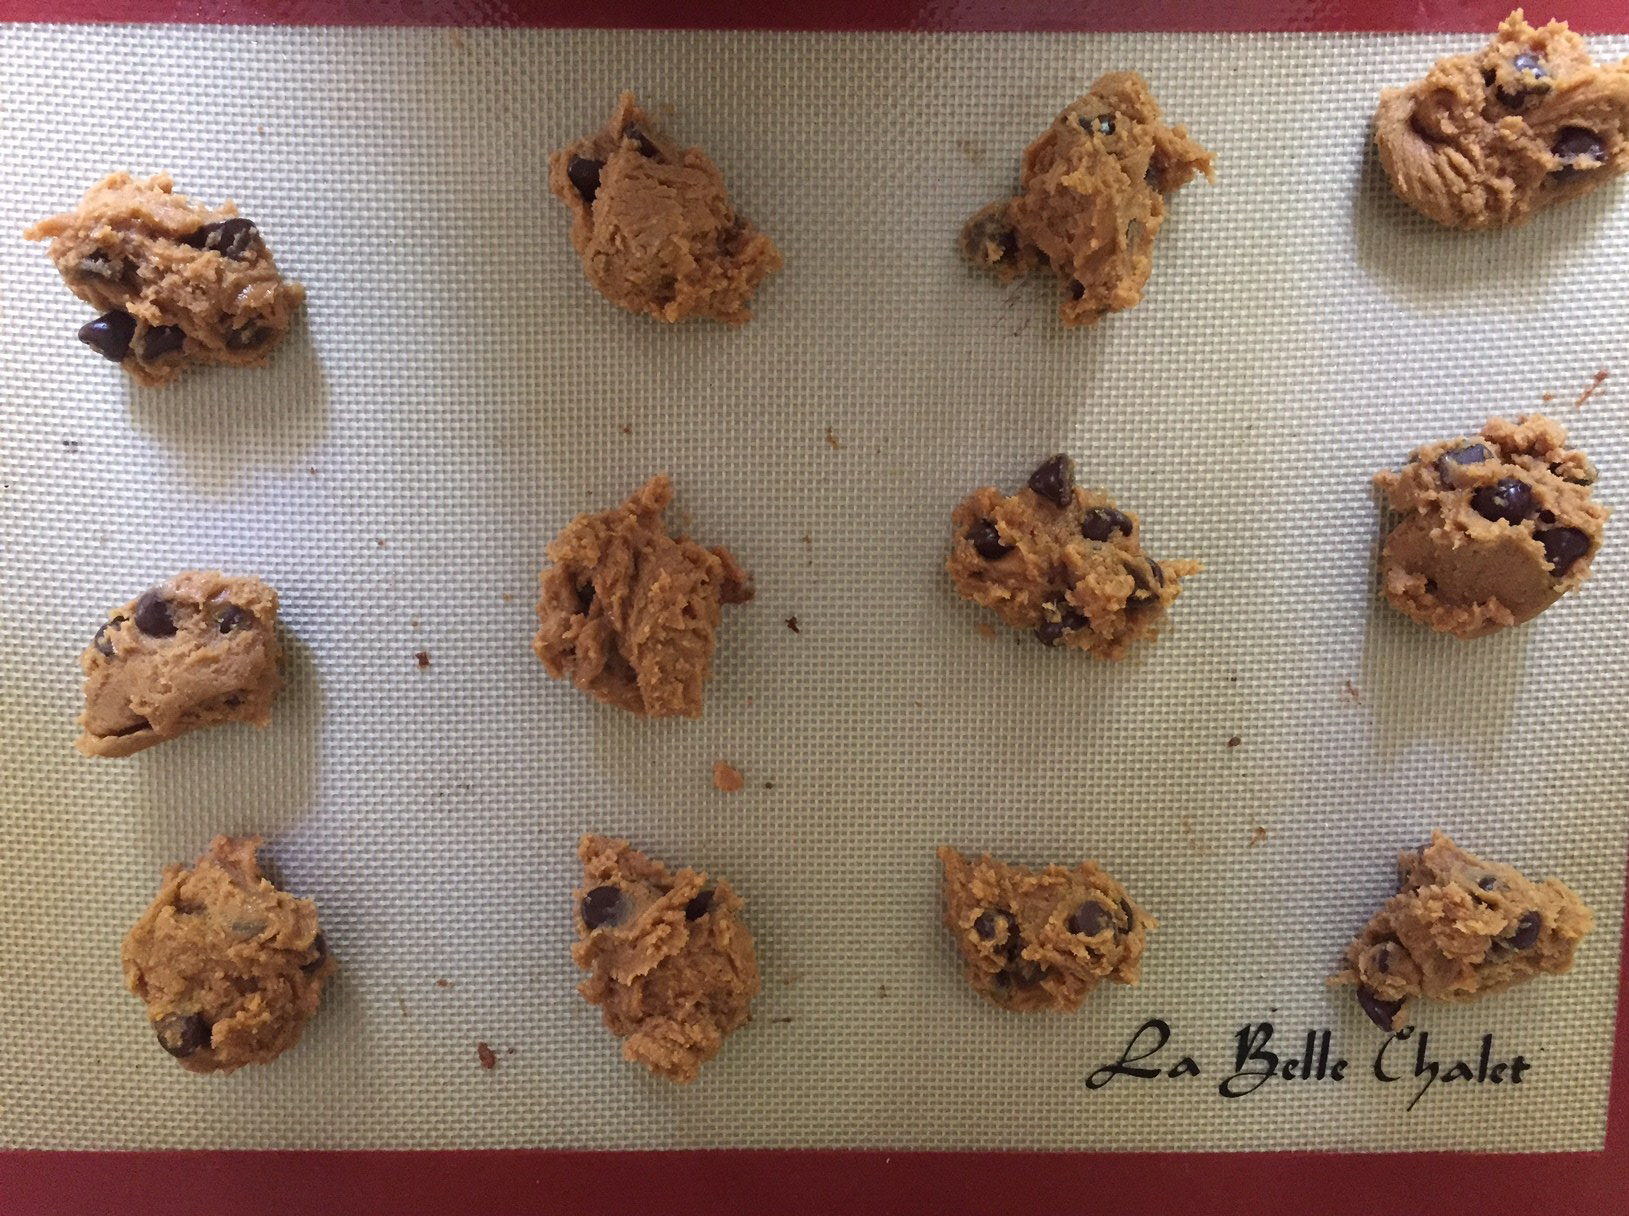
7. Bake for 10-11 min until the edges are golden brown. Let sit on the baking sheet for two-three minutes at room temperature, then you can transfer them to a cooling rack.
8. Enjoy! Diya certainly did! Can you tell that she was celebrating ‘architectural hair day’ at school?


 And we also got to see the Apple Cube. This was especially cool for us since a guest speaker at the girls’ school had designed it: