Happy Friday!
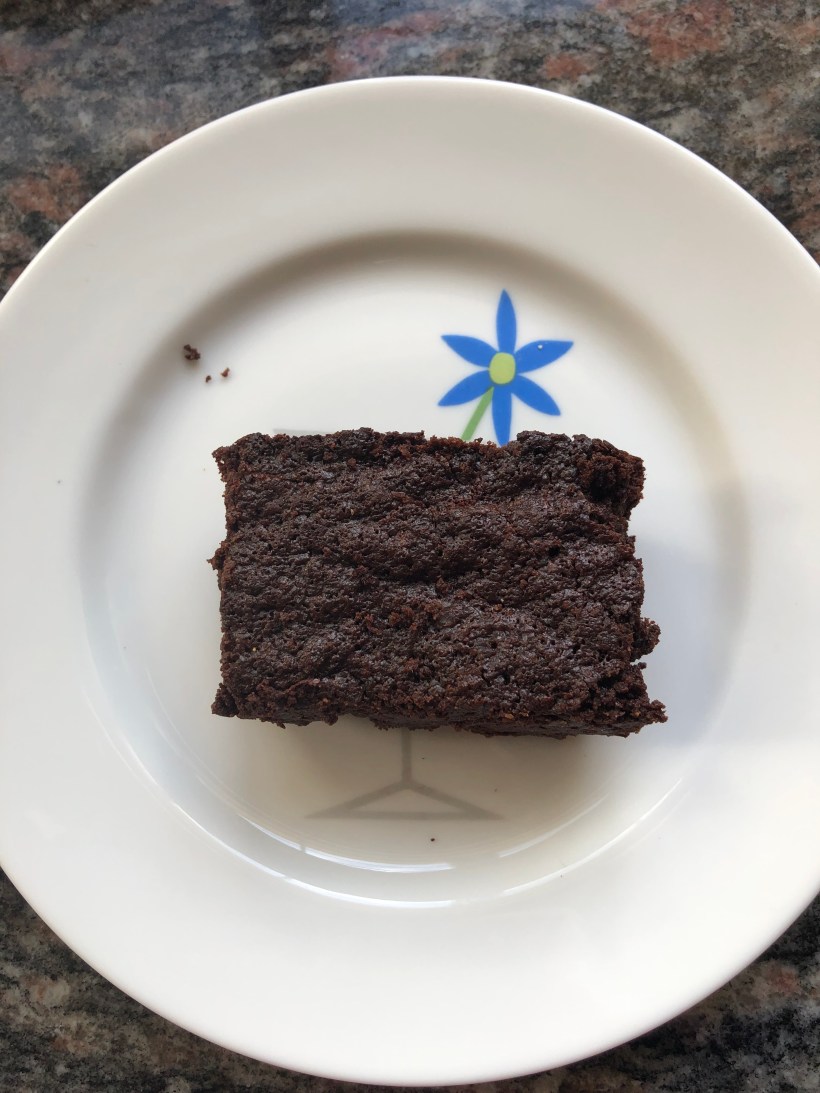
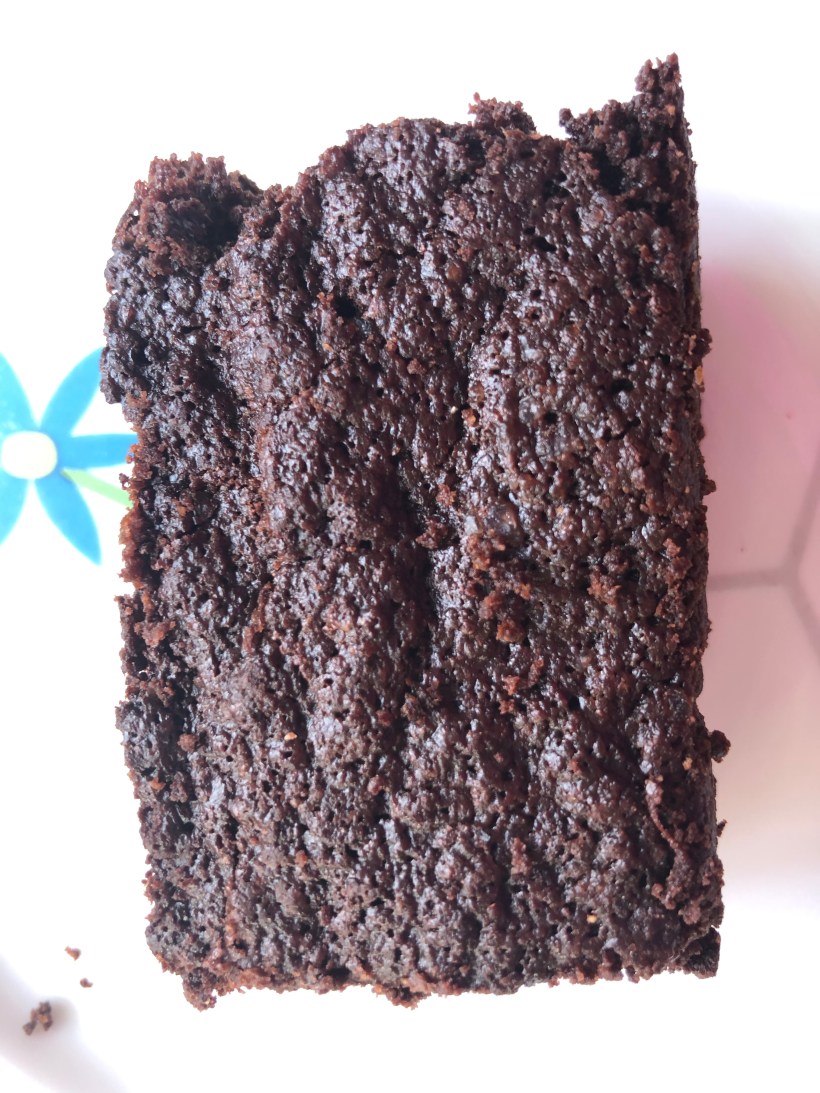
It’s been pretty cold here for California! When it’s cold and overcast, I really enjoy my afternoon coffee break. I came across this recipe from Adriana (A Cozy Kitchen) and was intrigued because this loaf looks pretty simple to make and uses rye flour and strawberries for an interesting flavor profile.
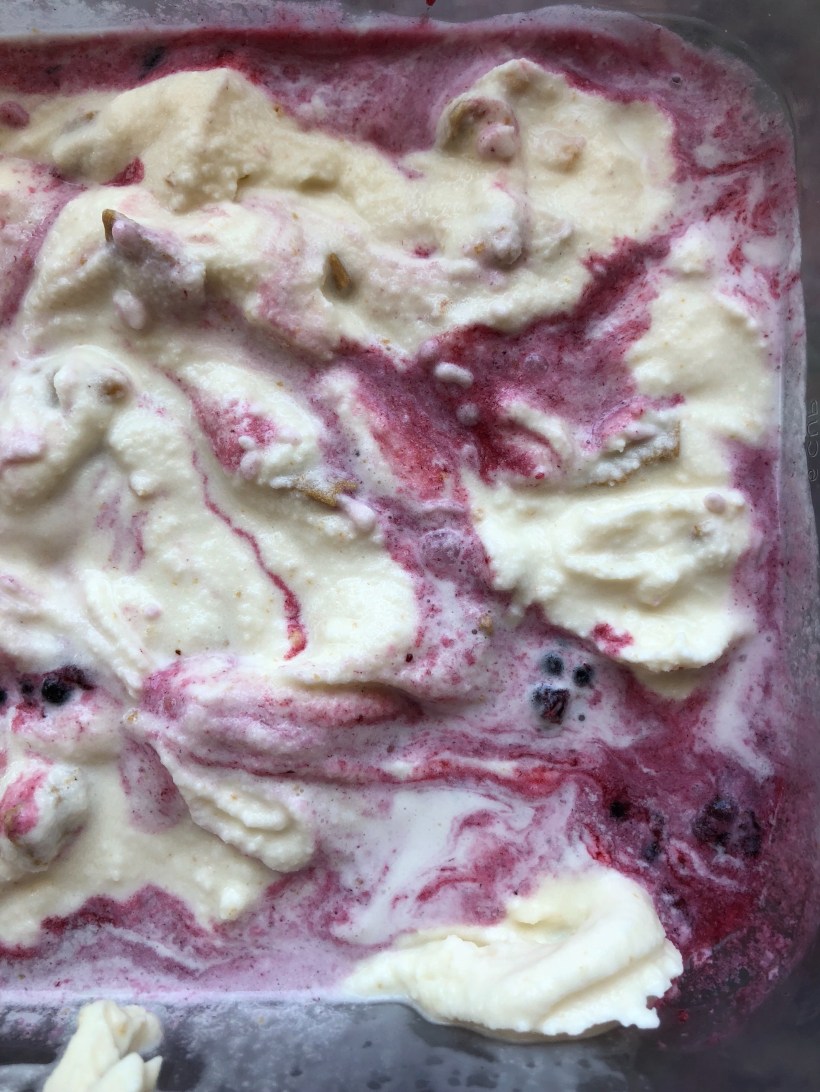
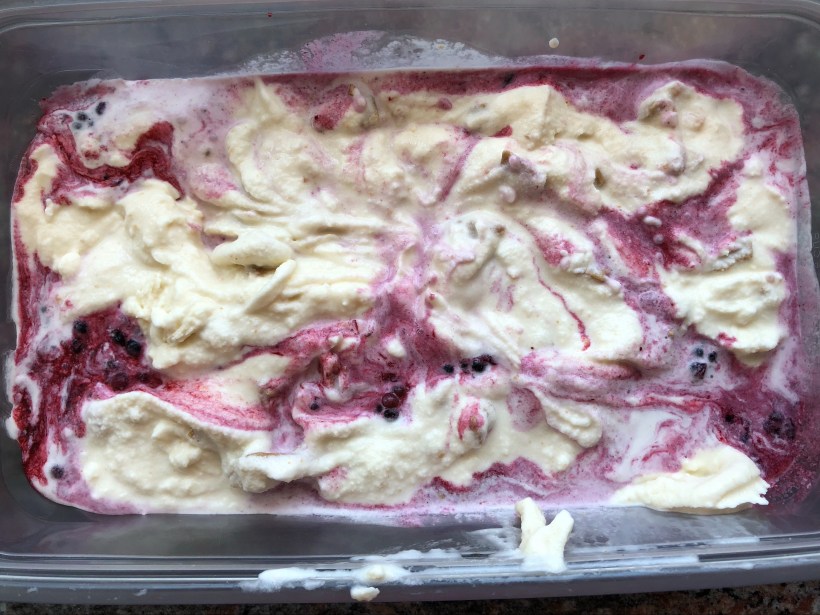
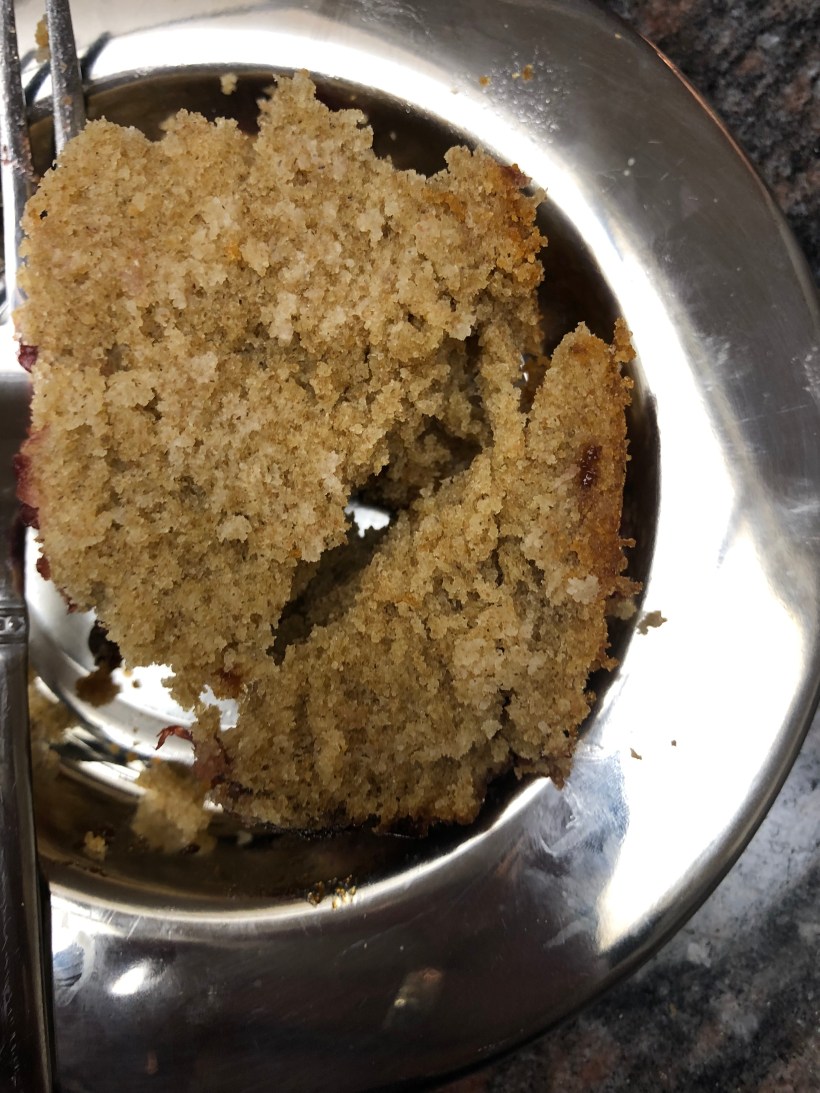
I have to say that the flavor blew me away – it is like a pound cake, not too sweet and the combination with the strawberries just works. I did modify the recipe – Adriana made a strawberry glaze but I ended up cooking up some strawberries with sugar and making a rough strawberry jam to put on top of the loaf. I also cut back the sugar.
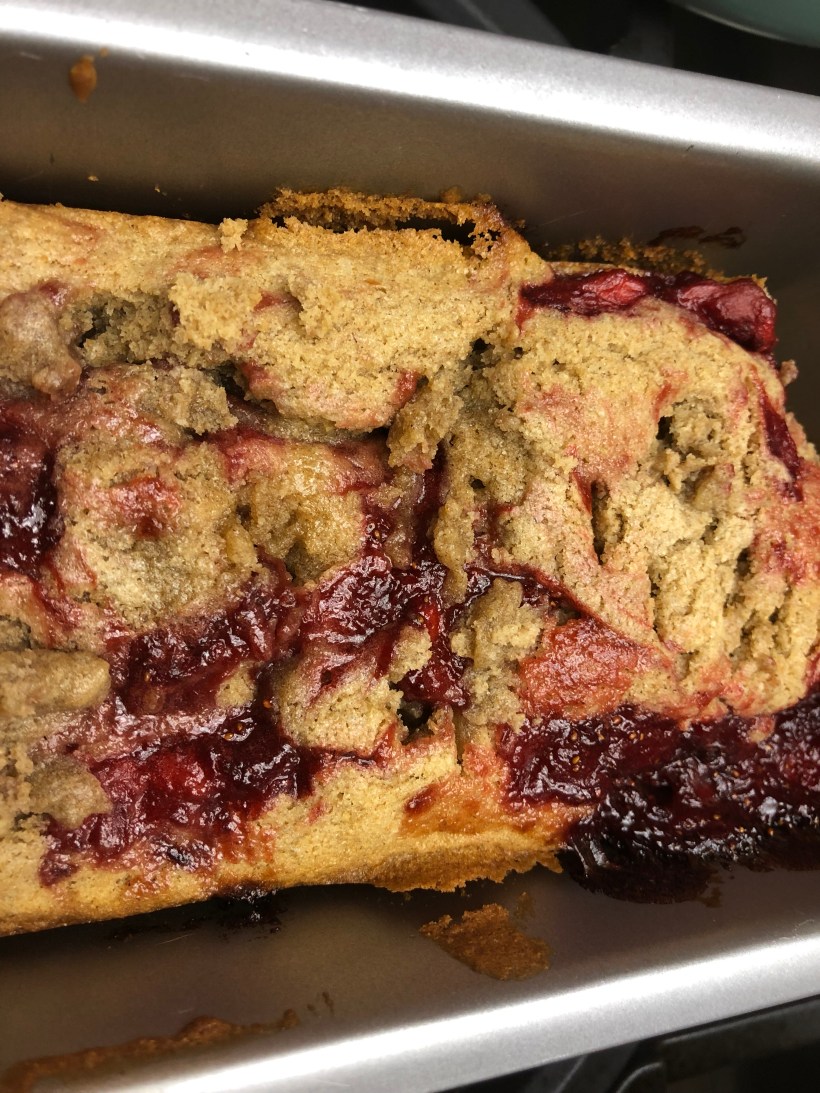
Rye Loaf with Strawberries
Ingredients:
- 2 cups rye flour
- 1 teaspoon salt
- 1/4 teaspoon baking powder
- 2/3 cup white granulated sugar
- 1 teaspoon vanilla extract
- 1 cup unsalted butter, at room temperature
- 3 large eggs
- 1/3 cup milk
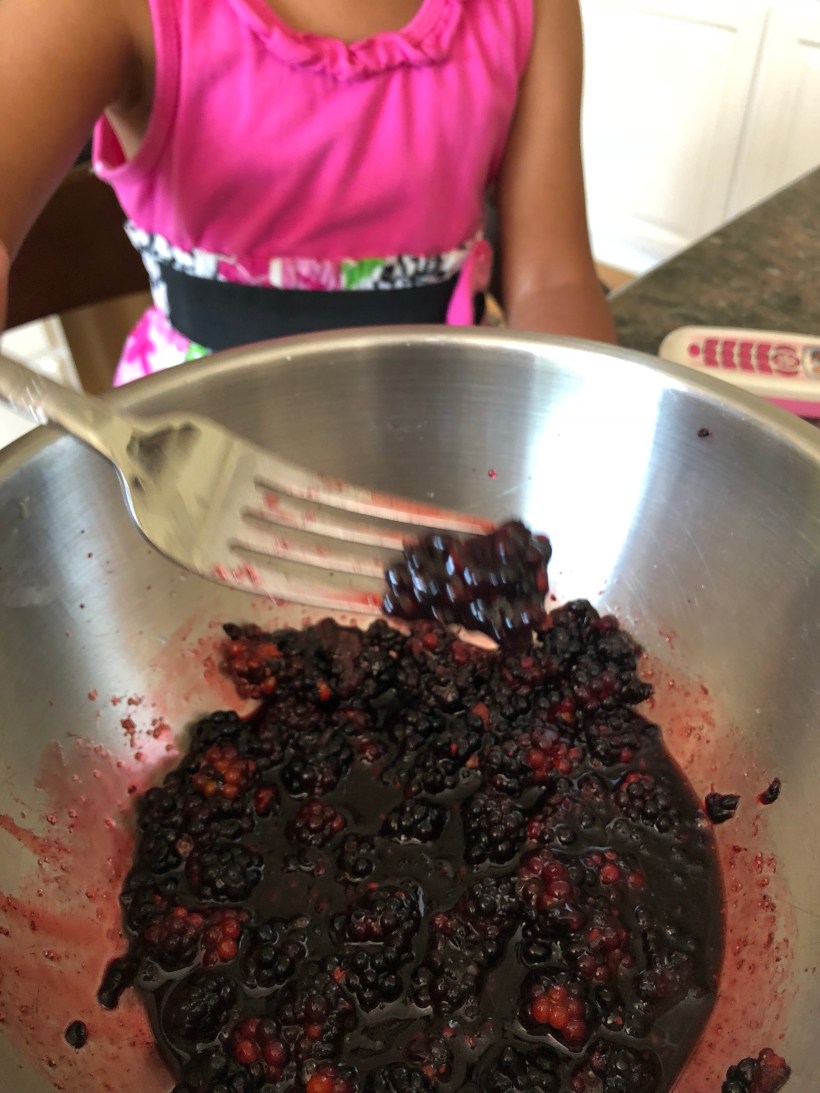
For the strawberry jam I used a pound of frozen strawberries and sugar to taste.
Instructions:
1. Preheat the oven to 325 degrees. Butter and flour an 8×4 or 9×5 inch loaf pan. I used a bit of a longer pan that I had bought from Ikea a few years ago.
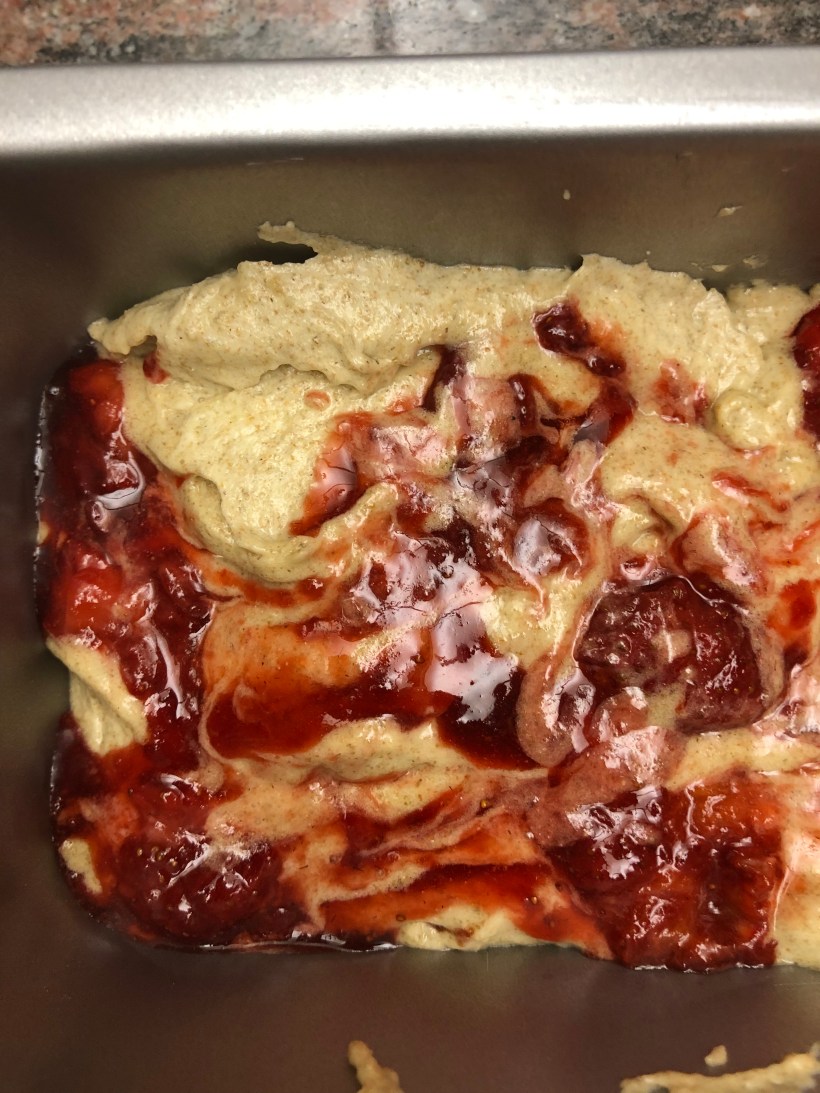
2. Make the jam: put the strawberries in a medium saucepan over medium heat until they start to thaw. Sprinkle liberally with sugar until they have a good layer on top. Cook over medium heat while stirring constantly, smashing the strawberries down with a back of a wooden spoon as you go. They will be done when they are soft and starting to caramelize
- 3. In a medium bowl, mix together the rye flour, salt and baking powder. In another medium bowl, add the sugar softened butter, and vanilla extract and using a hand mixer, mix until pale in color, about 3 minutes. Add one egg at a time, being sure each egg is incorporated before adding another.
-
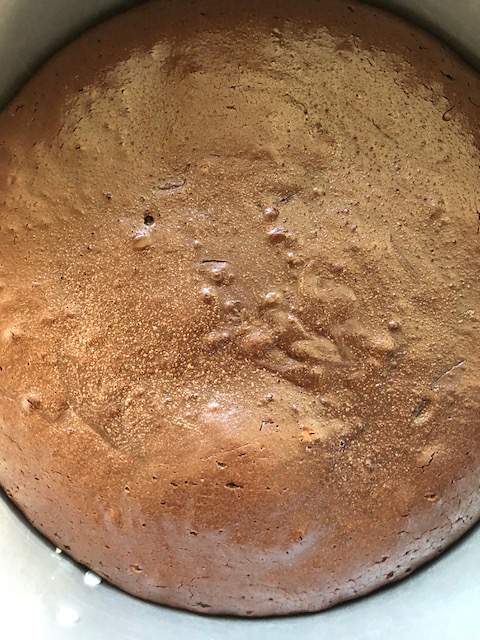
4.Add the flour mixture in a few batches, alternating with the milk, beginning and ending with the flour, until you no longer see any speckles of flour. Pour the pound cake batter into the prepared loaf pan. Top the batter with the smashed strawberry jam evenly. Transfer it to the oven to bake for 50 to 60 minutes, until a skewer inserted into the center comes out clean.
Enjoy with coffee or tea!
Love,
Pooja
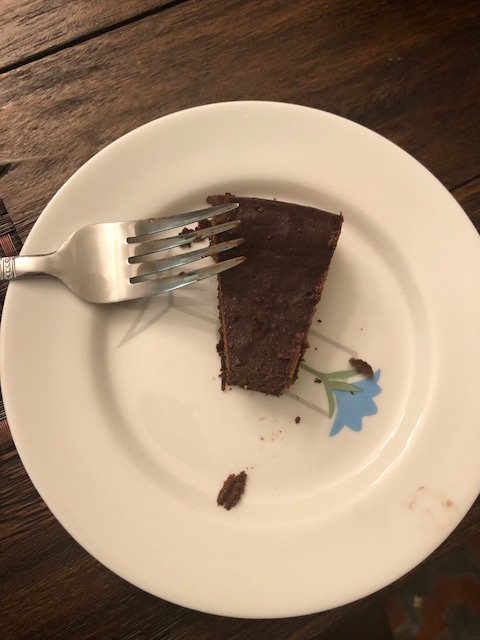
 Salty Rye Brownies